1. Go to Google Tag Manager
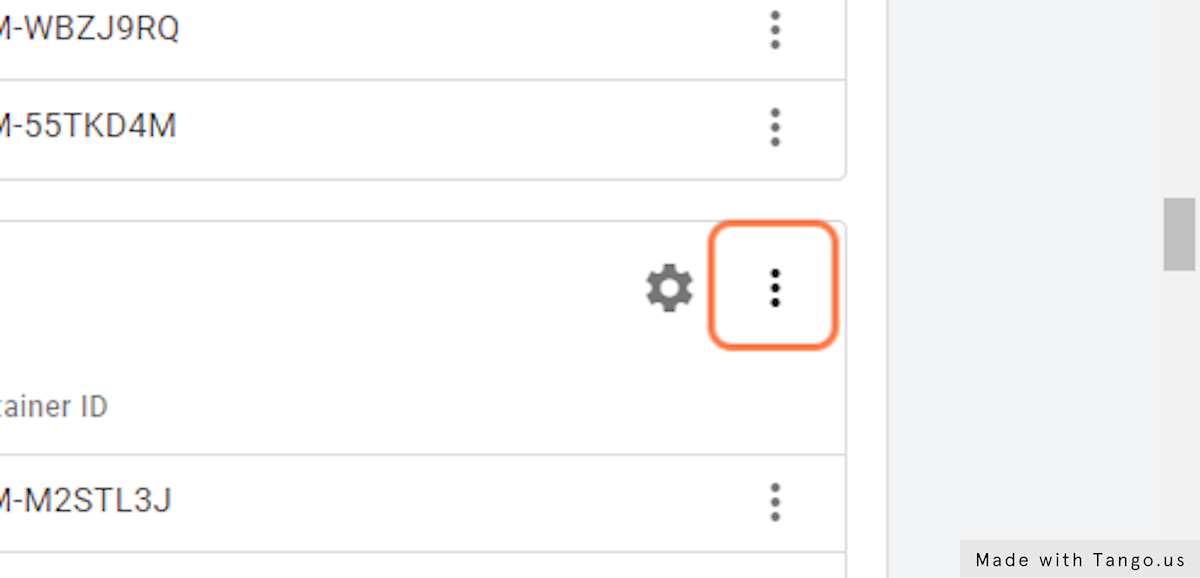
2. Click on the three-dots button for the appropriate Google Tag Manager account
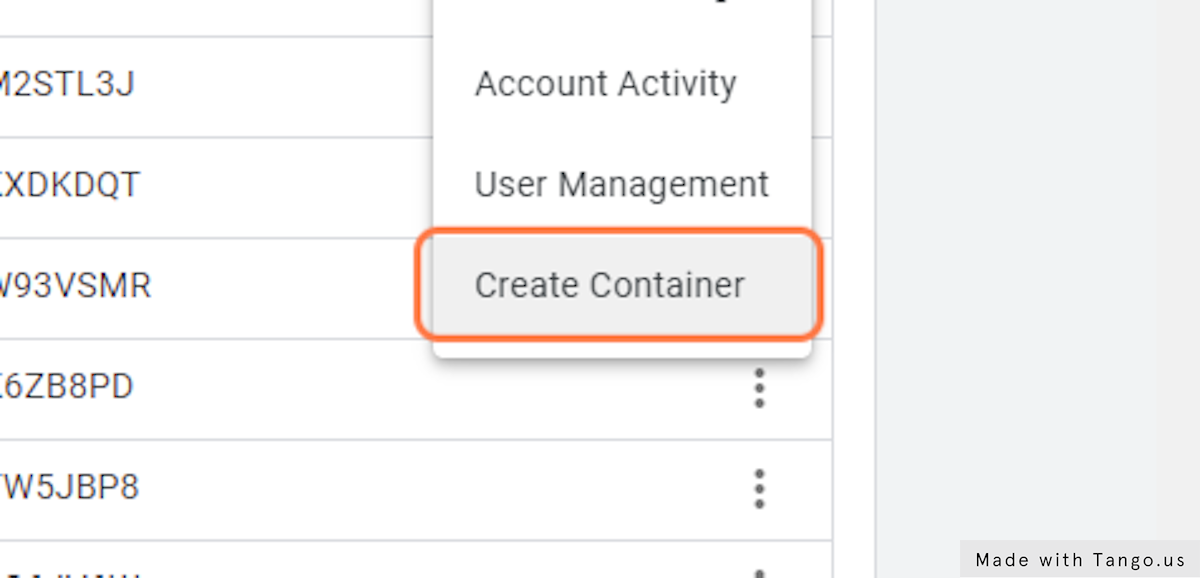
3. Click on Create Container
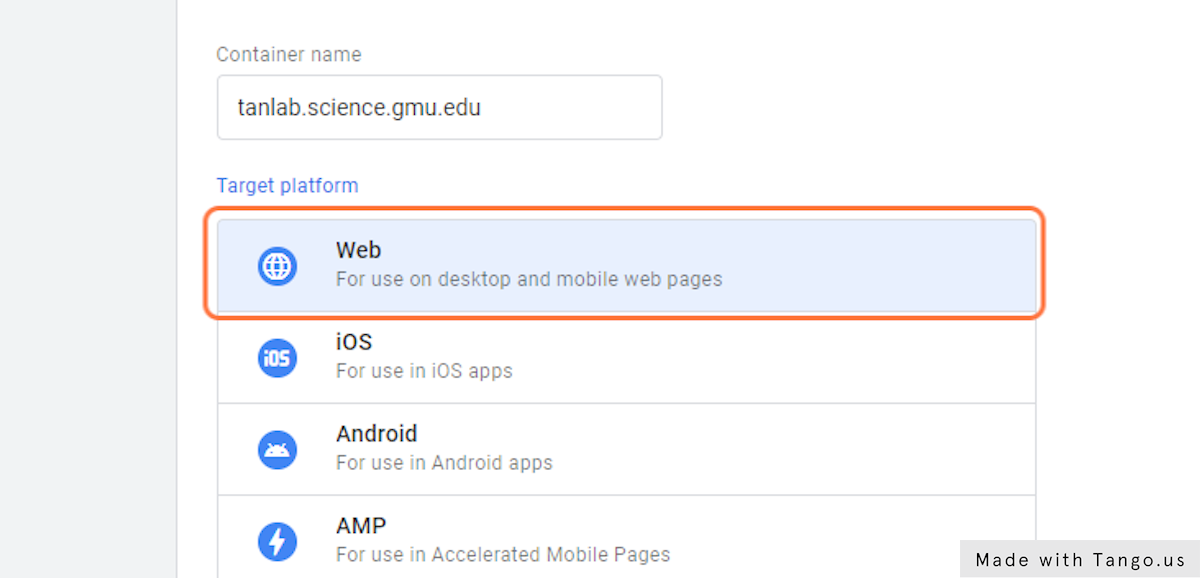
4. Paste the domain name of the website into the “Container Name” field
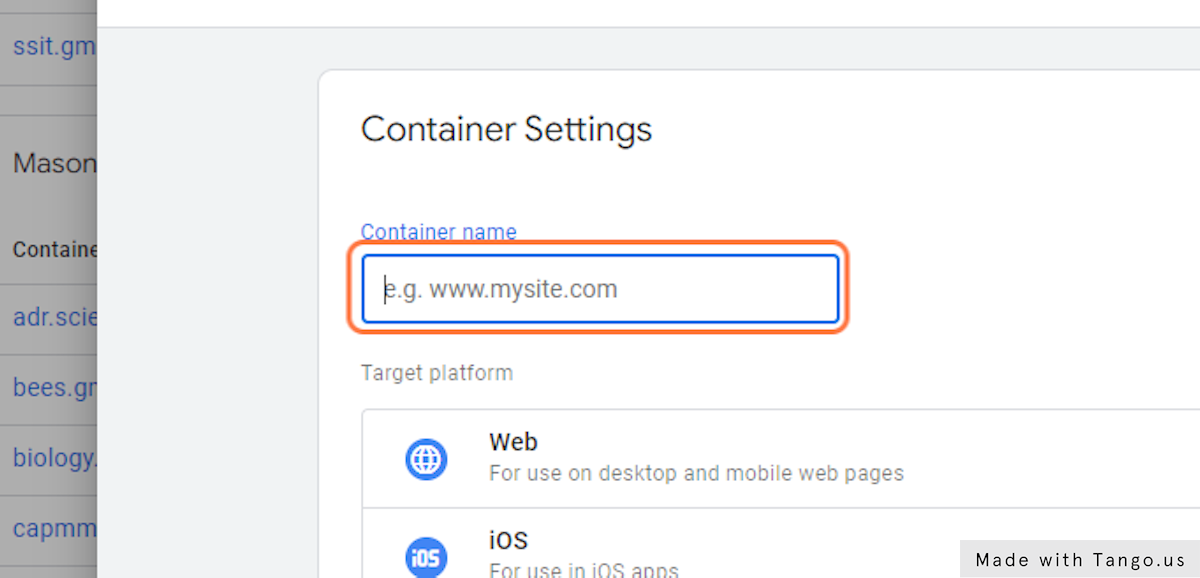
5. Click on Web…
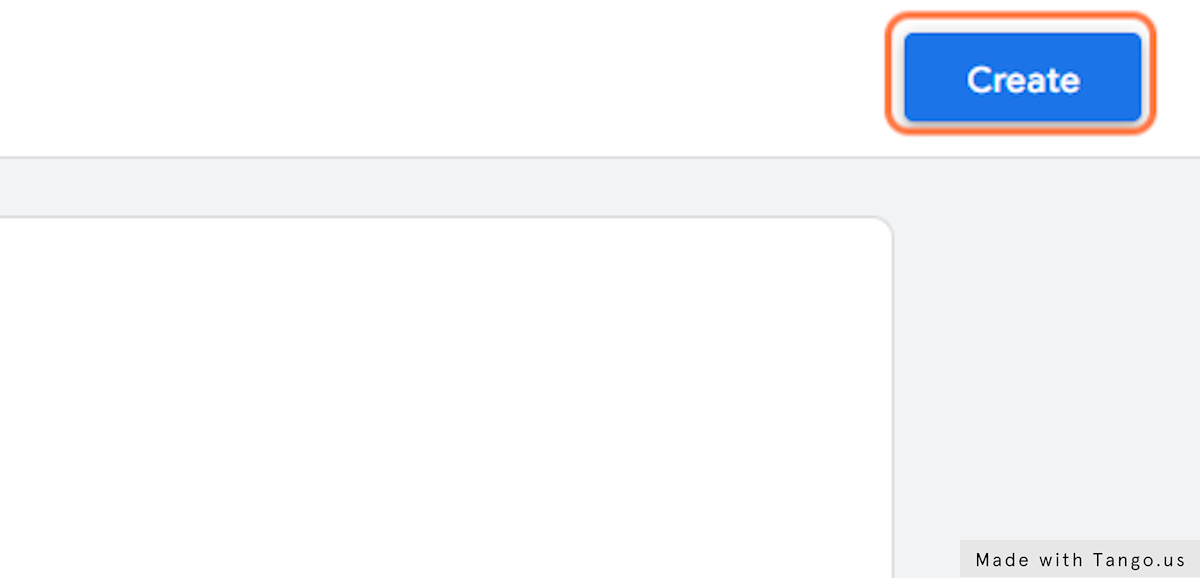
6. Click on Create
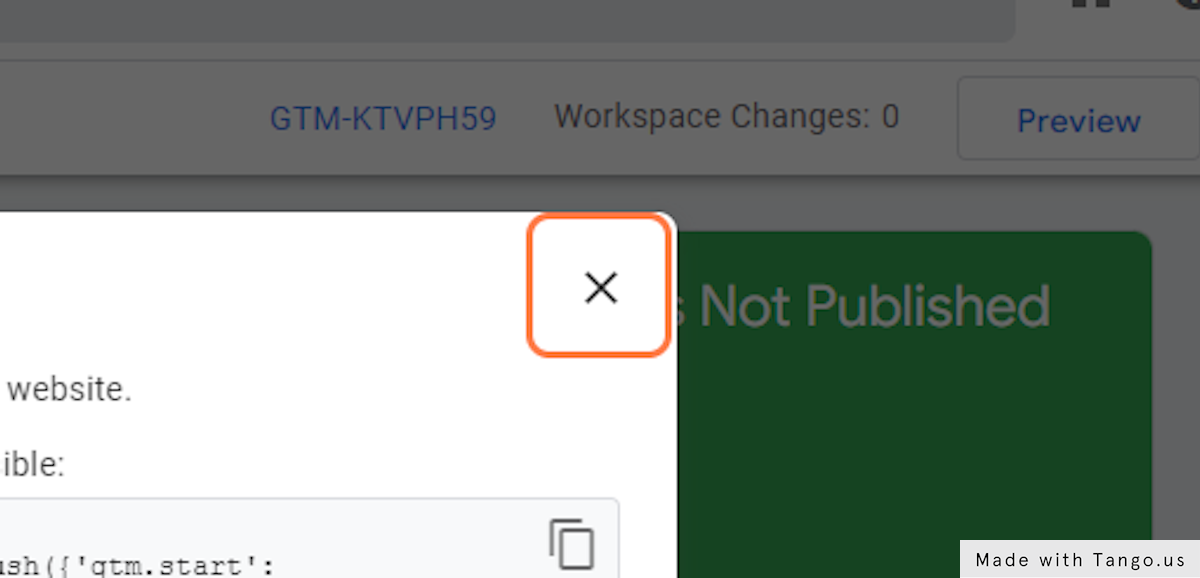
7. Click to close the pop-up modal window
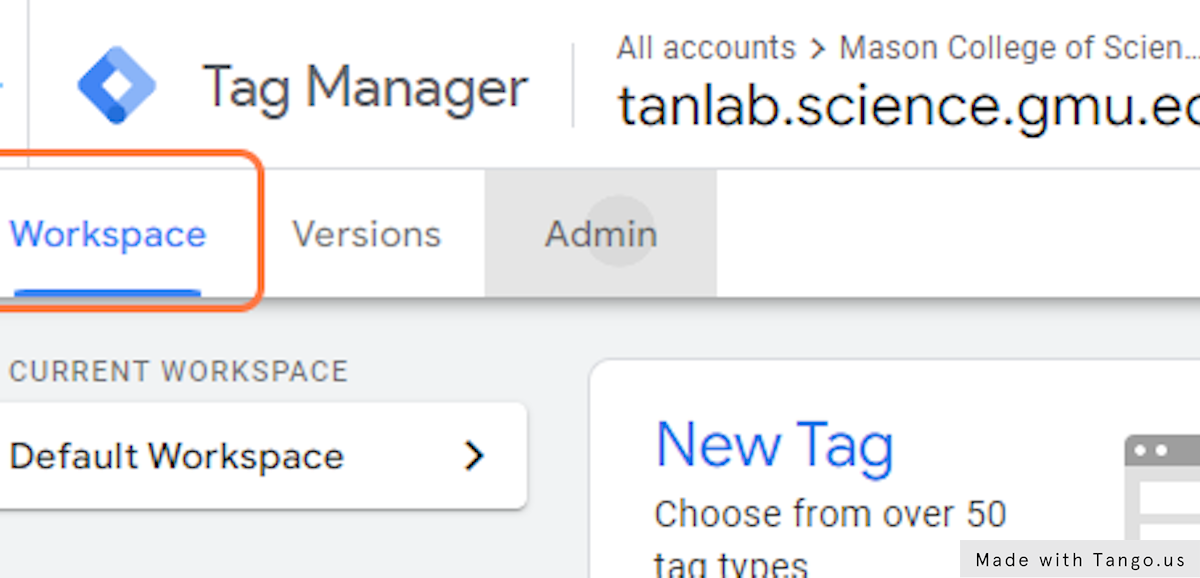
8. Click on Admin
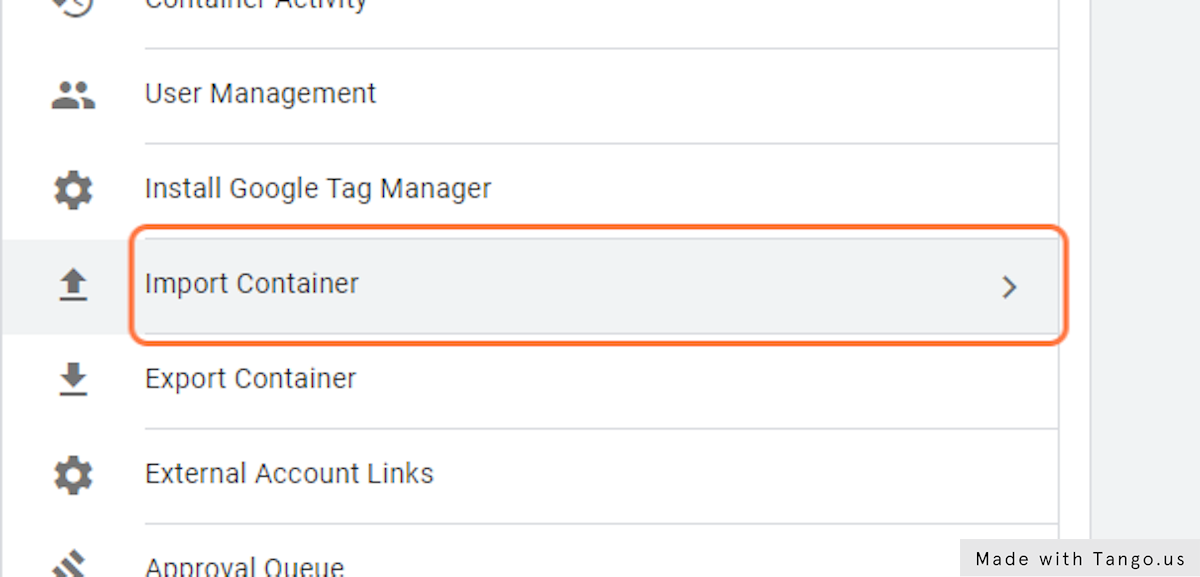
9. Click on Import Container
10. Select the Mason Standard GTM container file from file upload menu
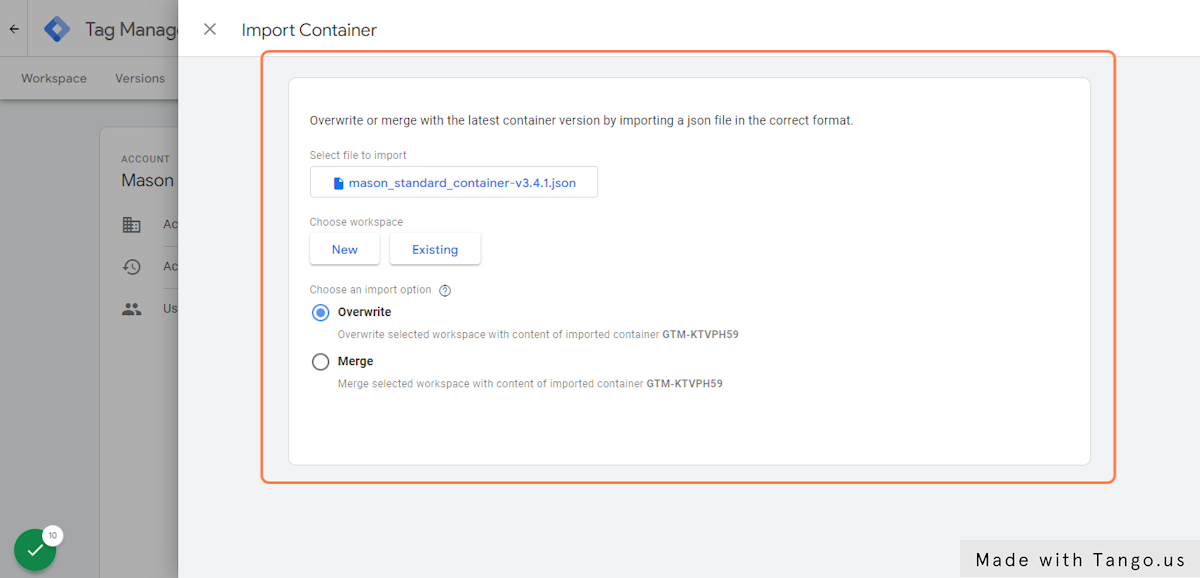
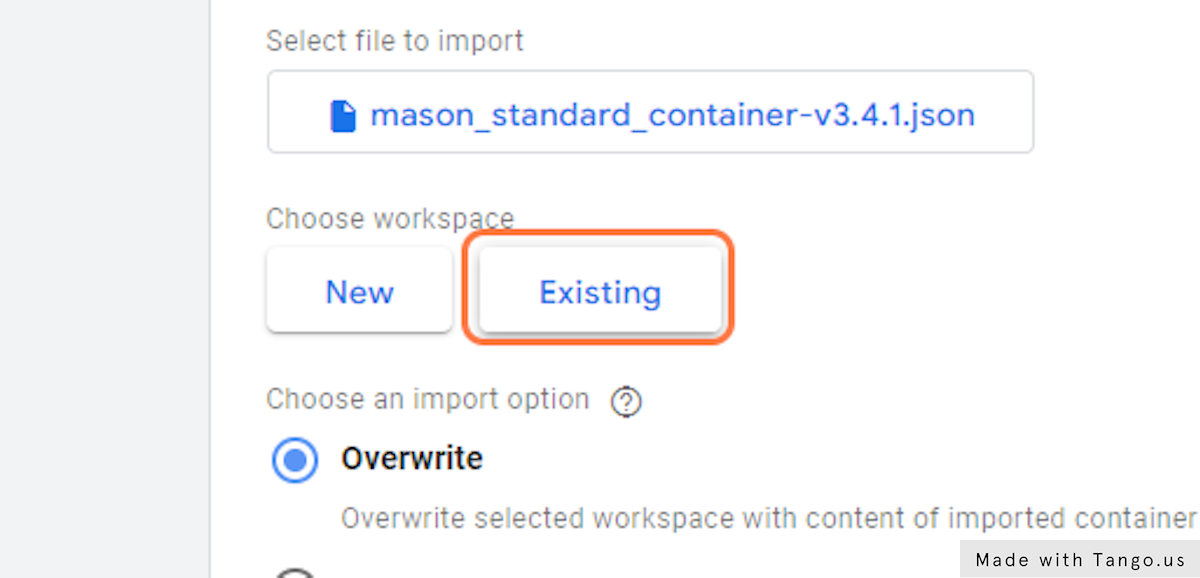
11. Click on Existing under Workspace
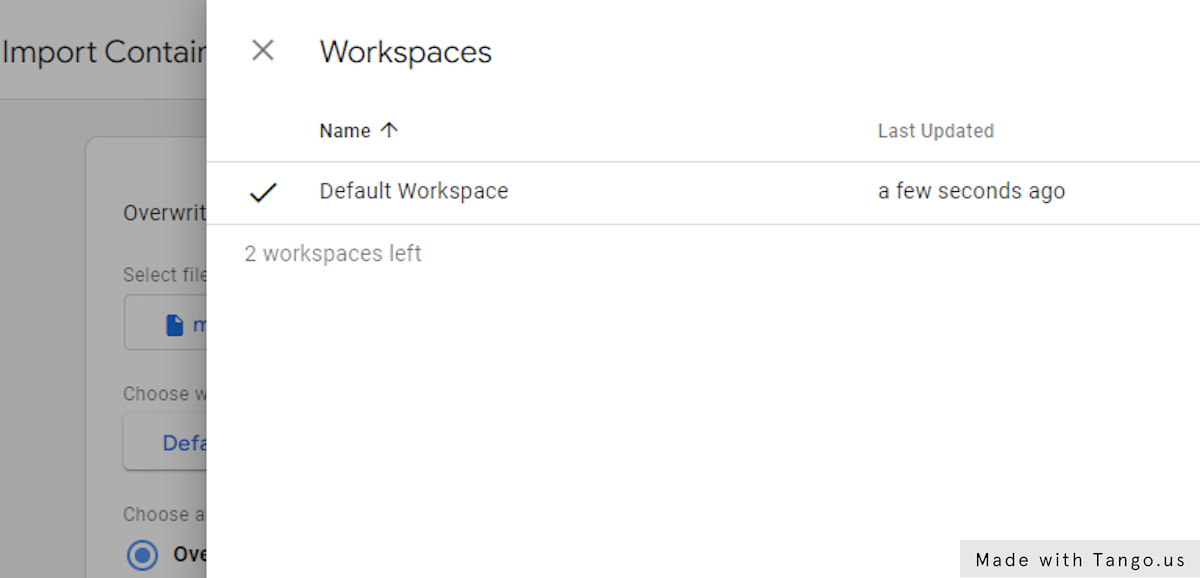
12. Click on Default Workspace…
13. Click on Confirm

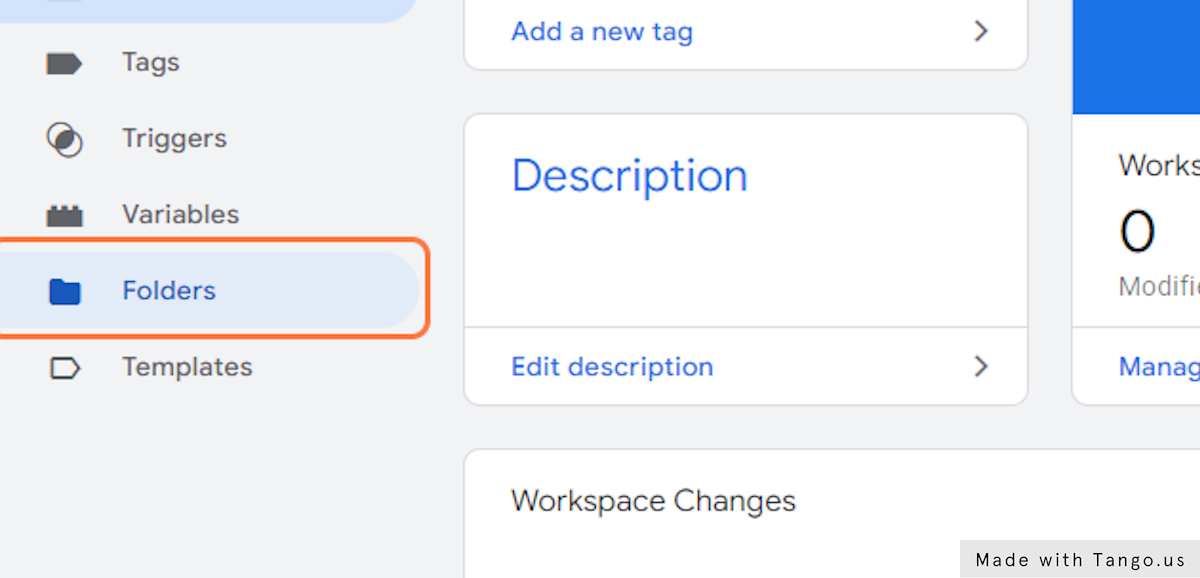
14. Click on Folders
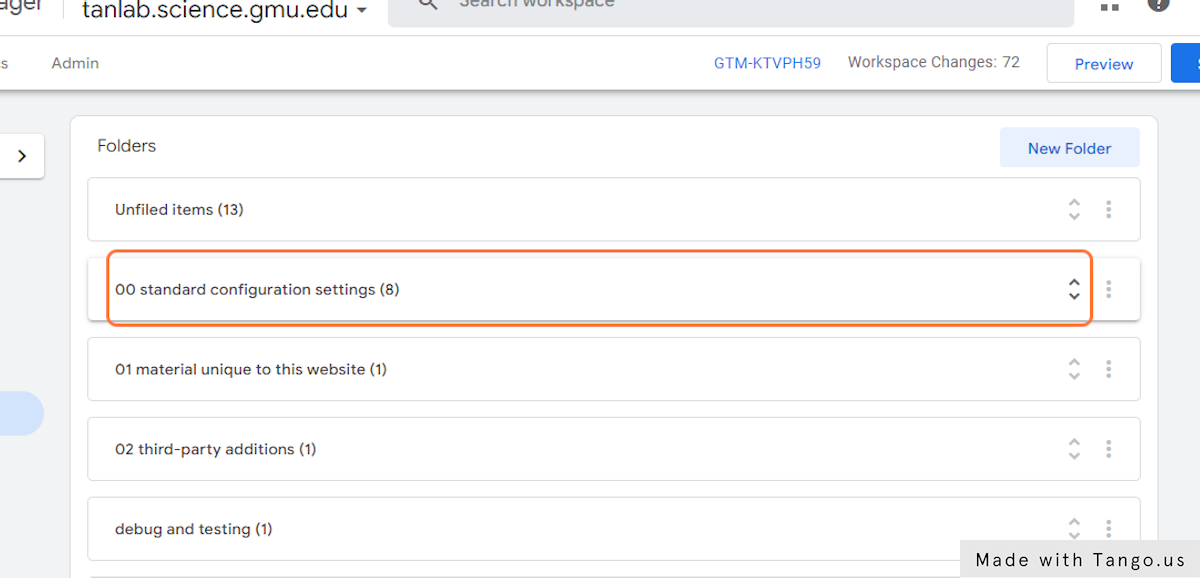
15. Click to open the folder “00 standard configuration settings”
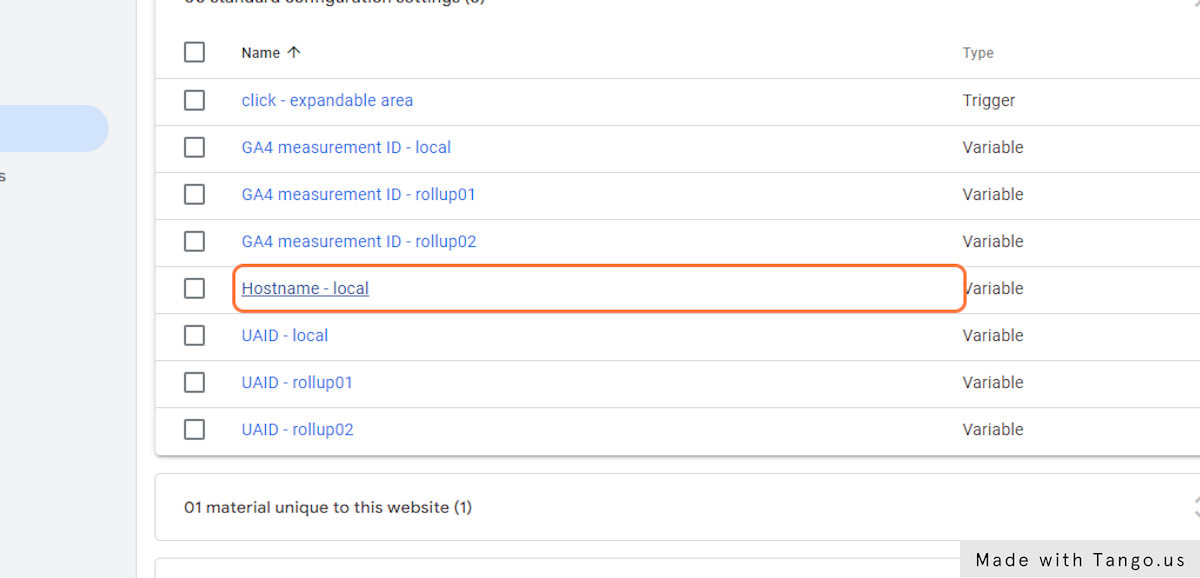
16. Click on Hostname – local
17. Enter the domain name of the website in the “Value” field
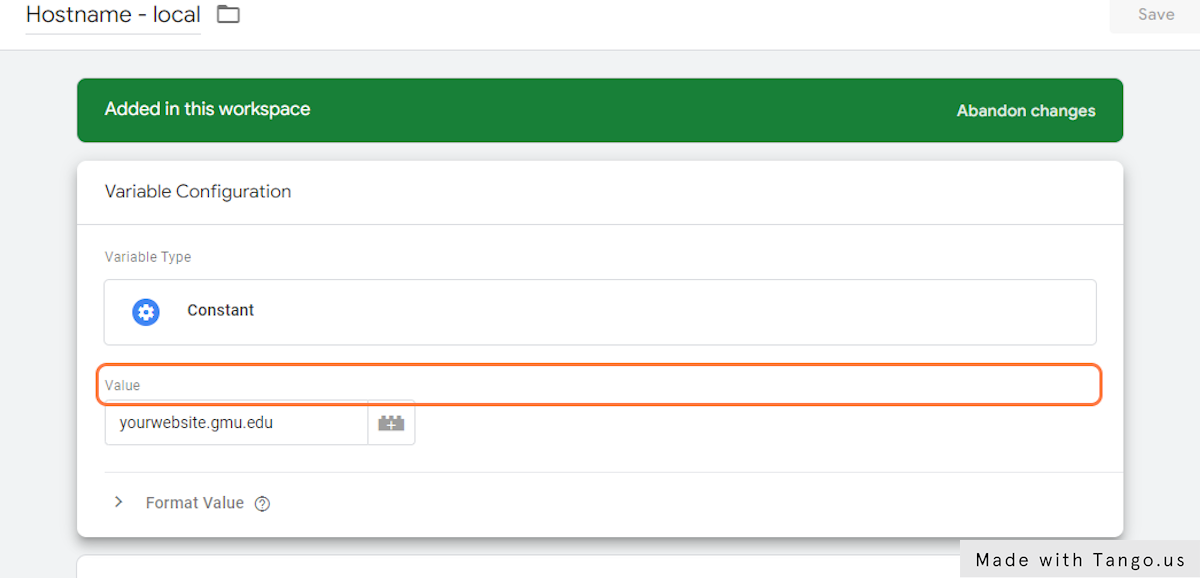
18. Click on Save

19. Click on GA4 measurement ID – local

20. Enter the appropriate GA Measurement ID into the “Value” field
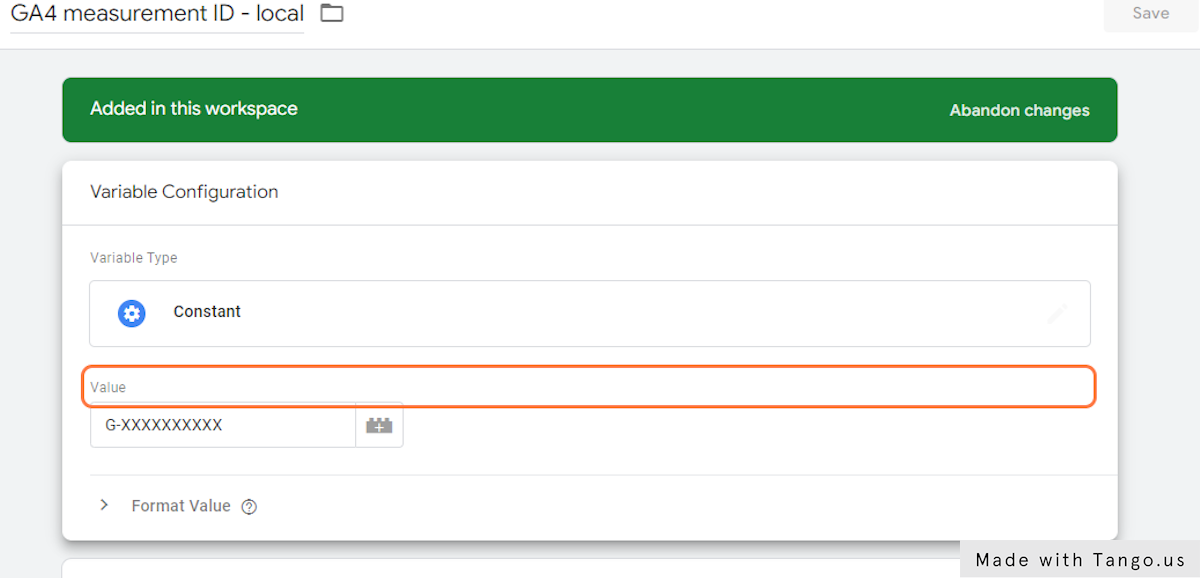
21. Click on Save

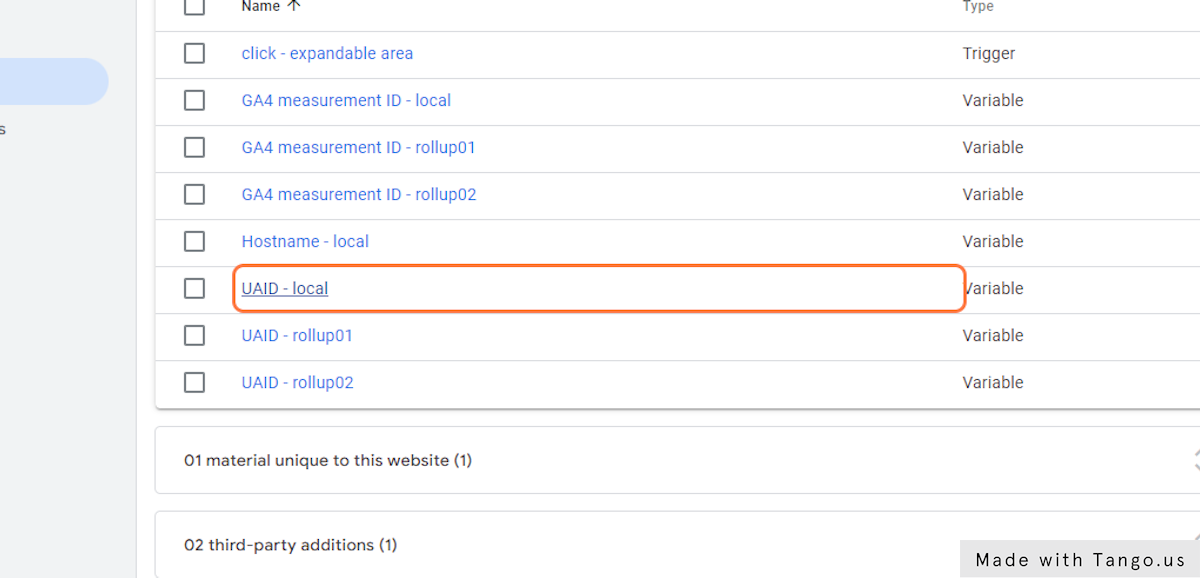
22. Click on UAID – local
23. Enter the appropriate GA universal analytics property ID into the “Value” field
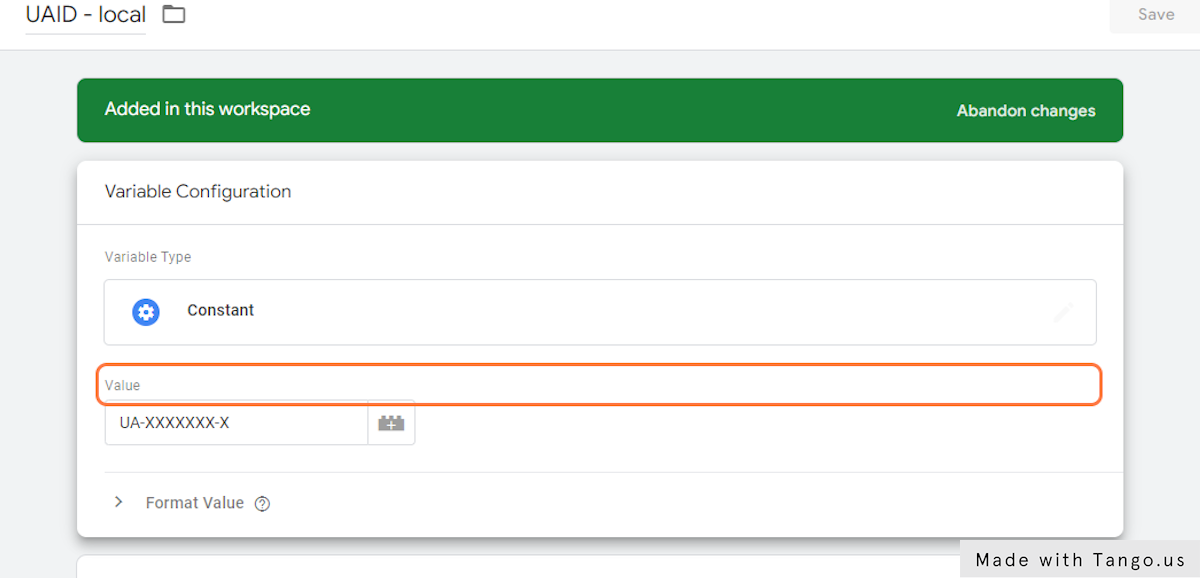
24. Click on Save

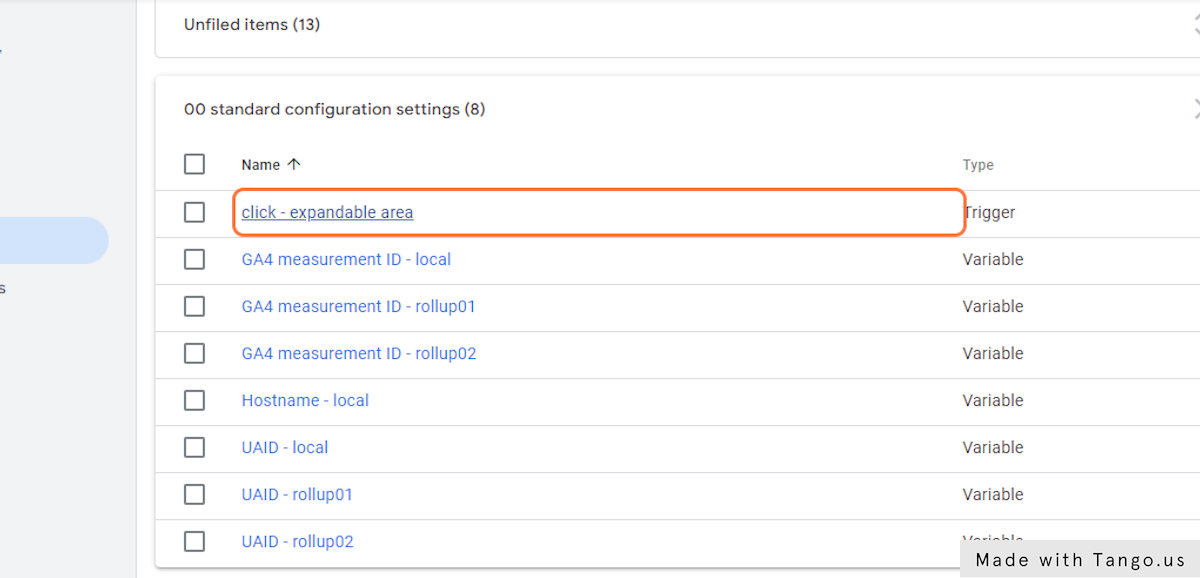
25. Click on click – expandable area
26. For WordPress websites, enter “.collapseomatic” in the field as shown
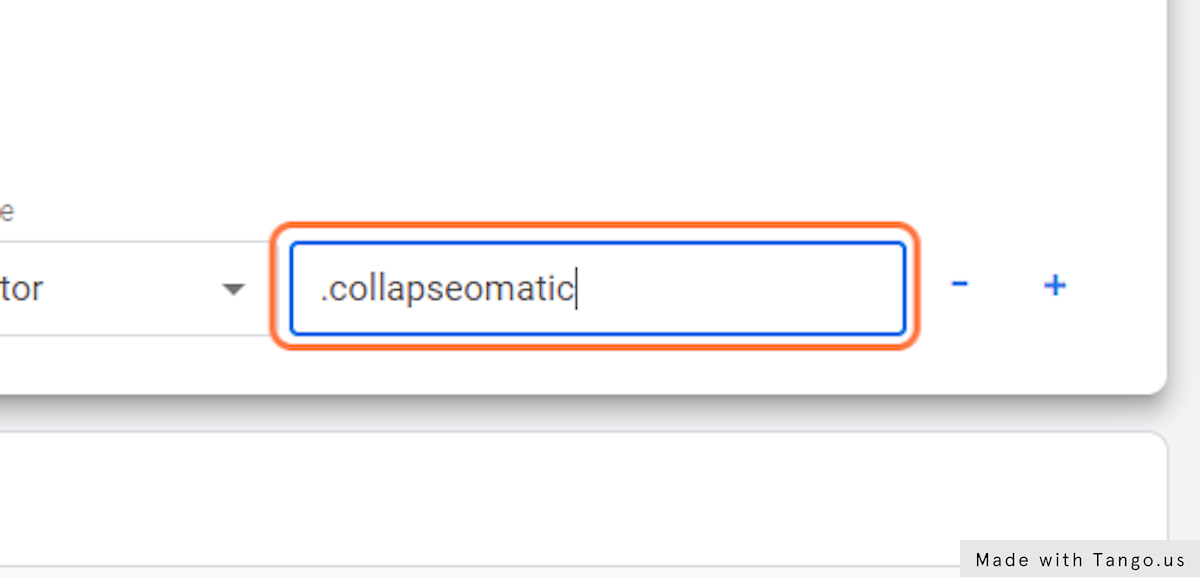
27. Click on Save
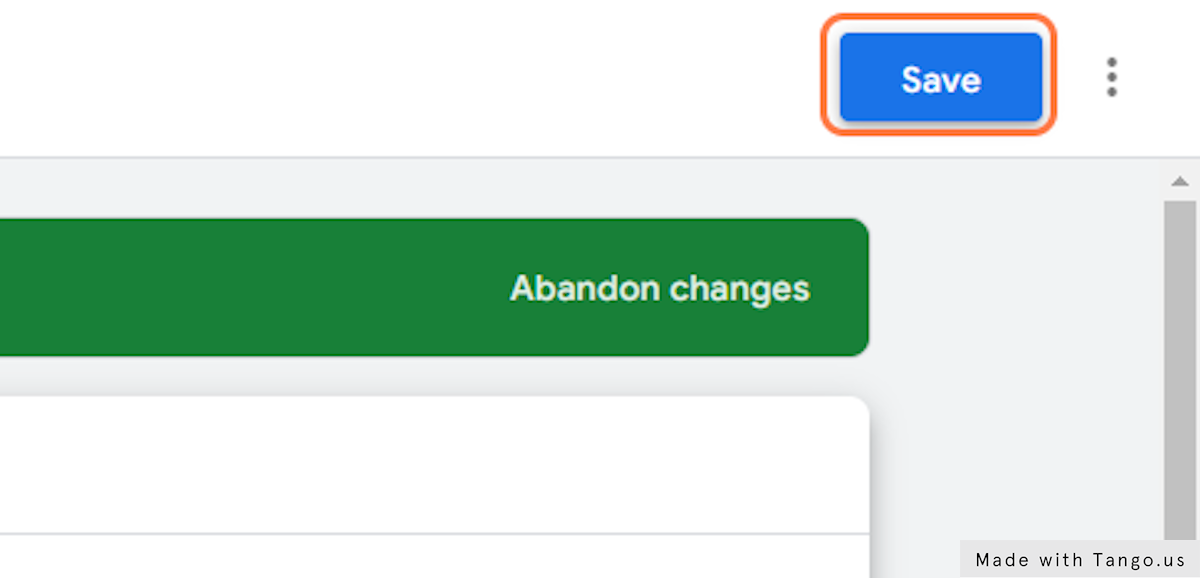
28. Click on Submit

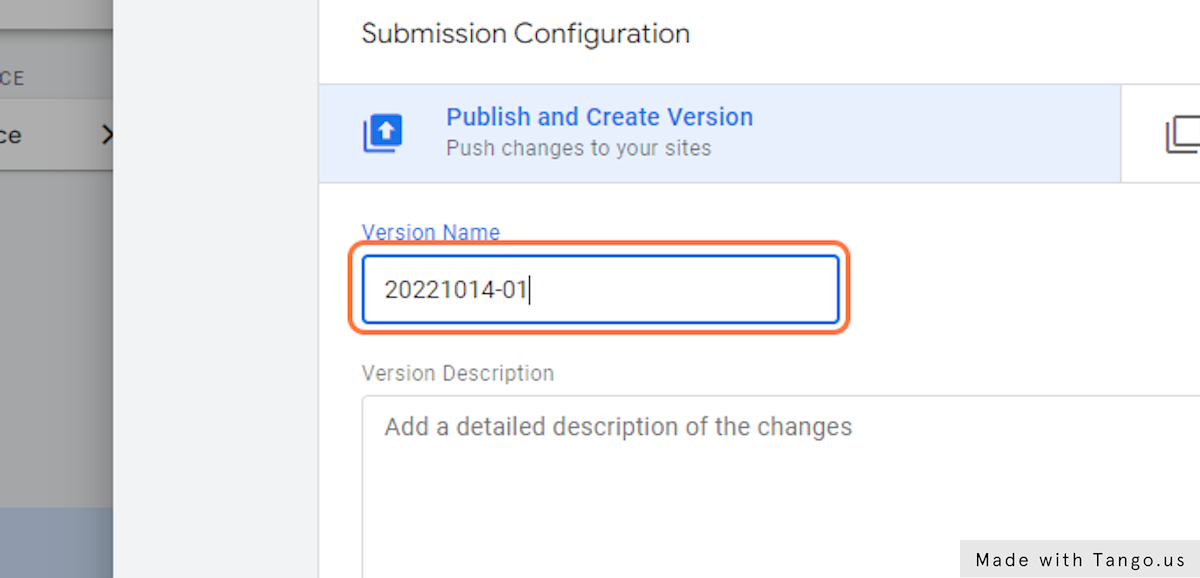
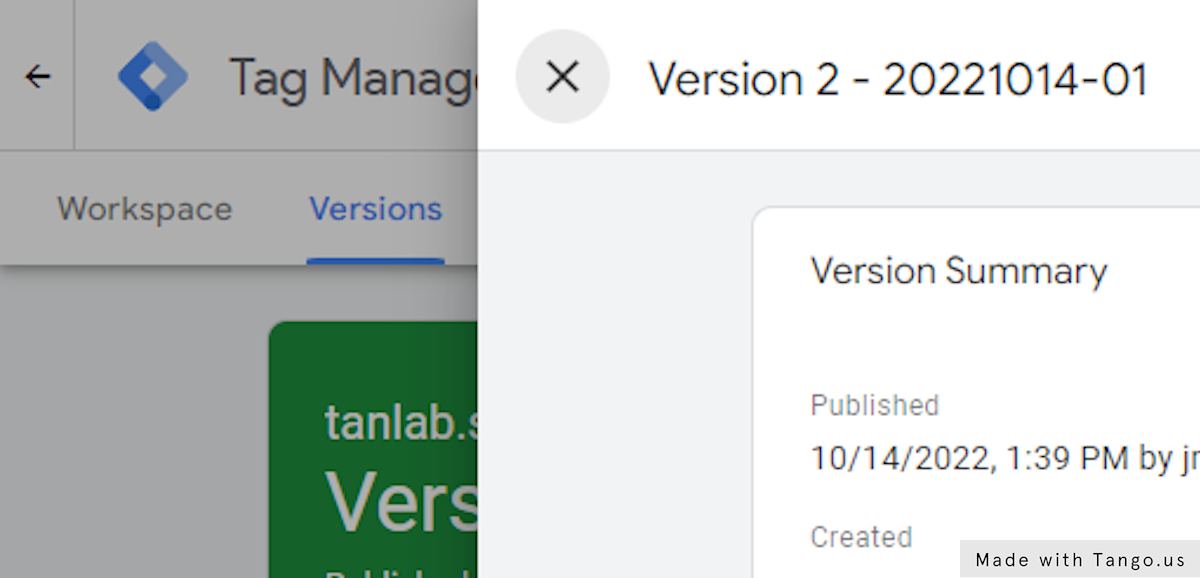
29. For the “Version Name” field, enter the current date in YYYYMMDD format, and add a sequence number like “-01” at the end as shown
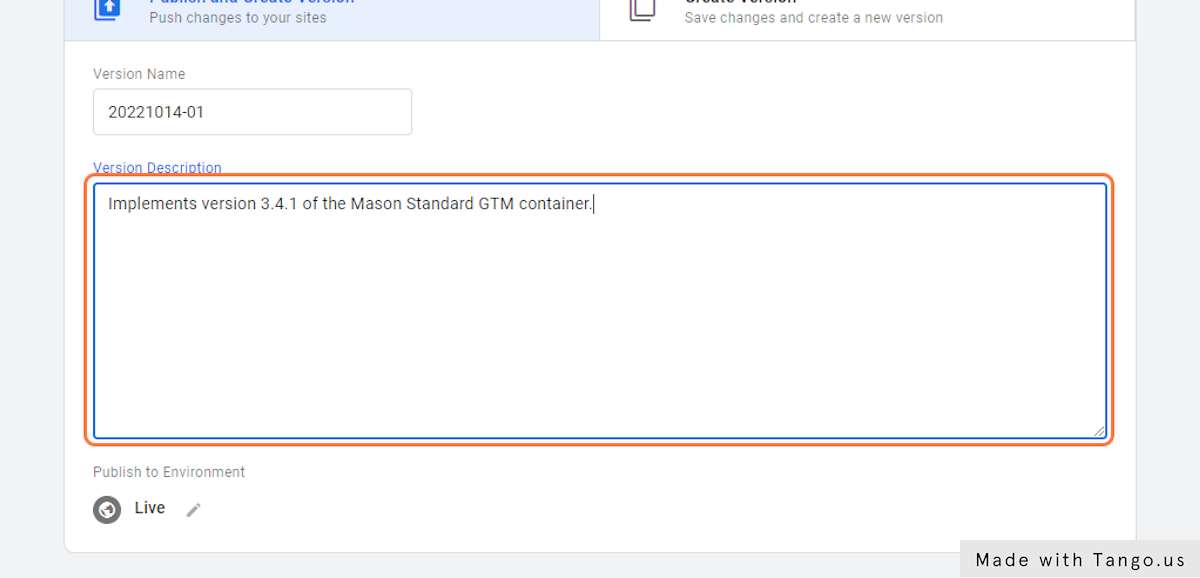
30. For the “Version Description” field, enter “Implements version 3.4.1 of the Mason Standard GTM container.”
31. Click on Publish
32. Click to close the version summary modal window
33. Click on Admin
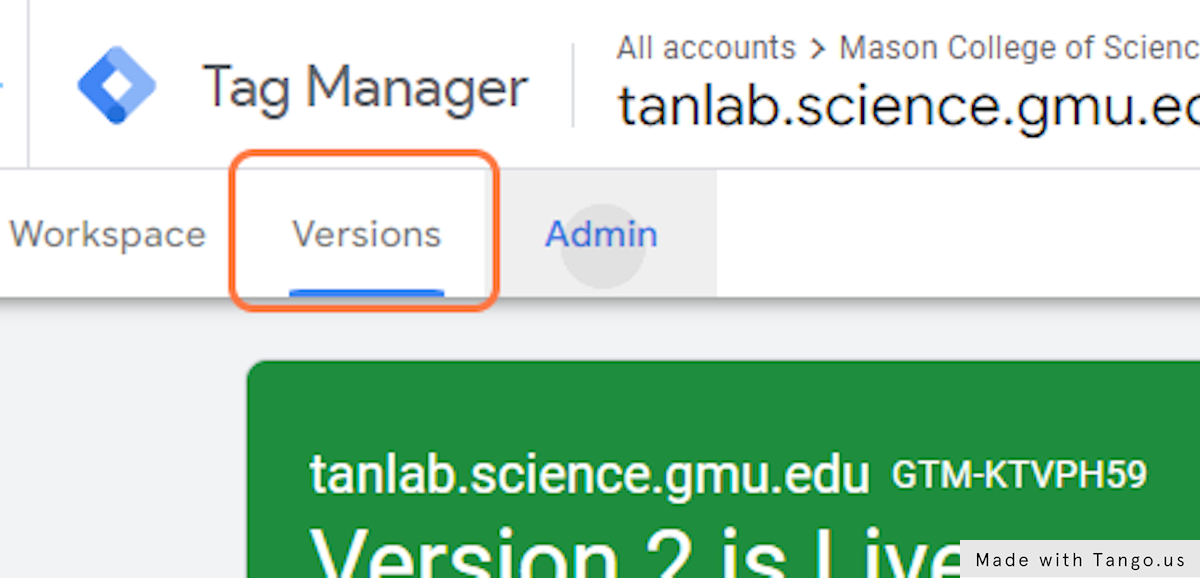
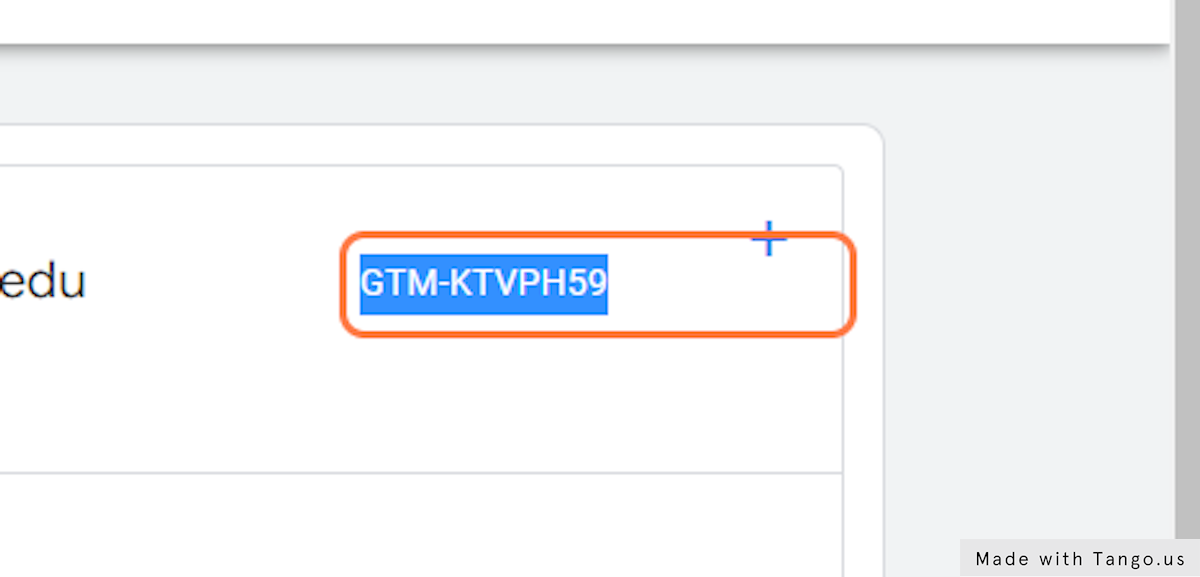
34. Copy the container’s GTM ID number and make note of it