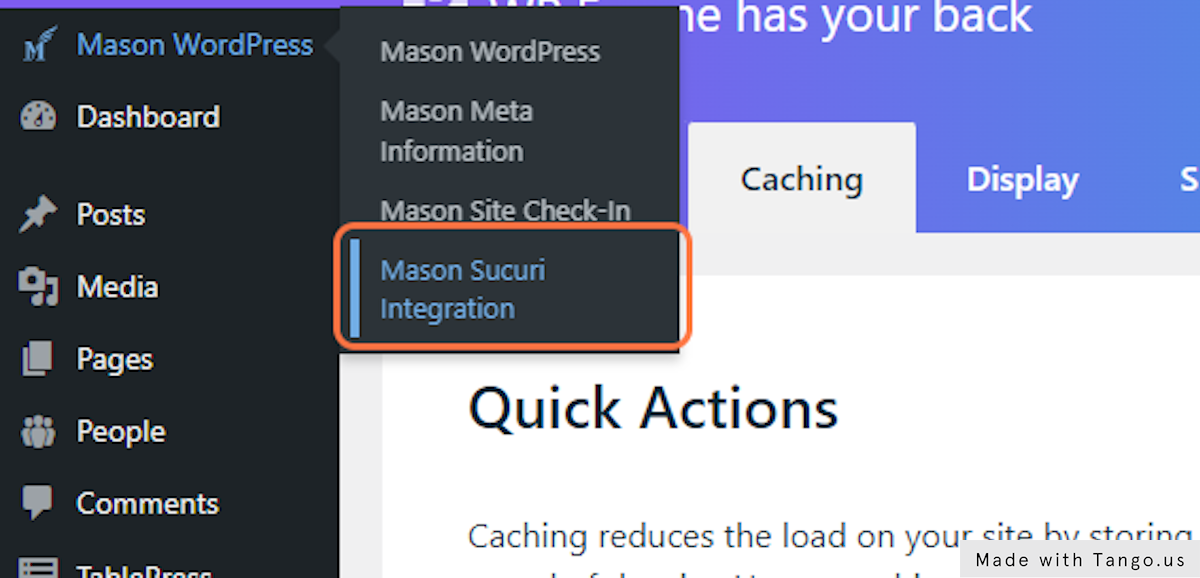
1. Go to the WordPress Dashboard
2. Click on Settings -> Google Tag Manager
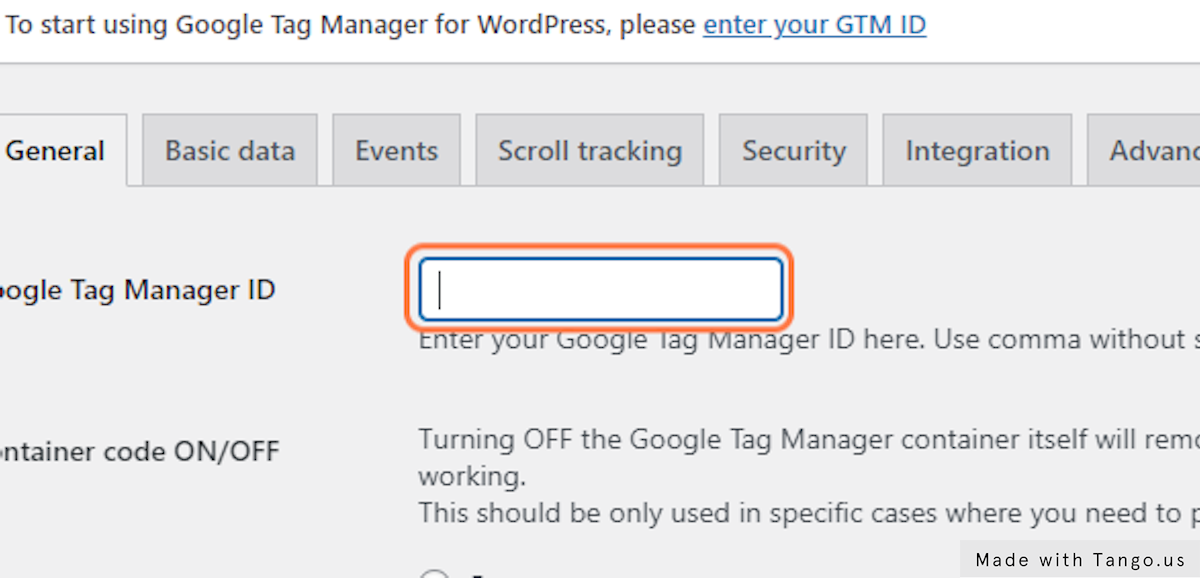
3. Paste the GTM Container ID into the “Google Tag Manager ID” field.
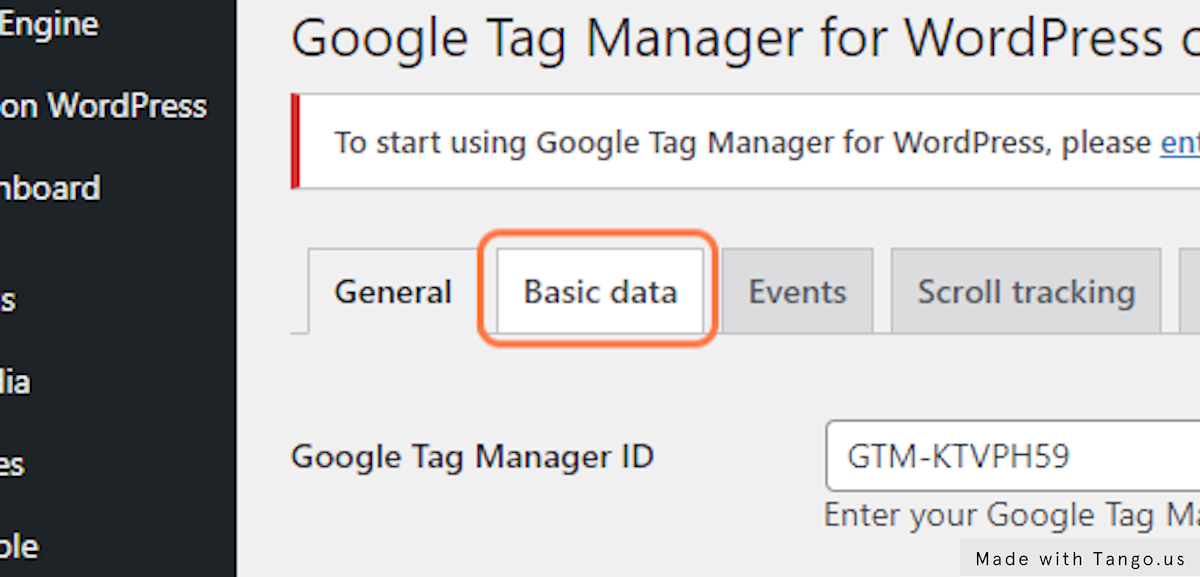
4. Click on Basic data
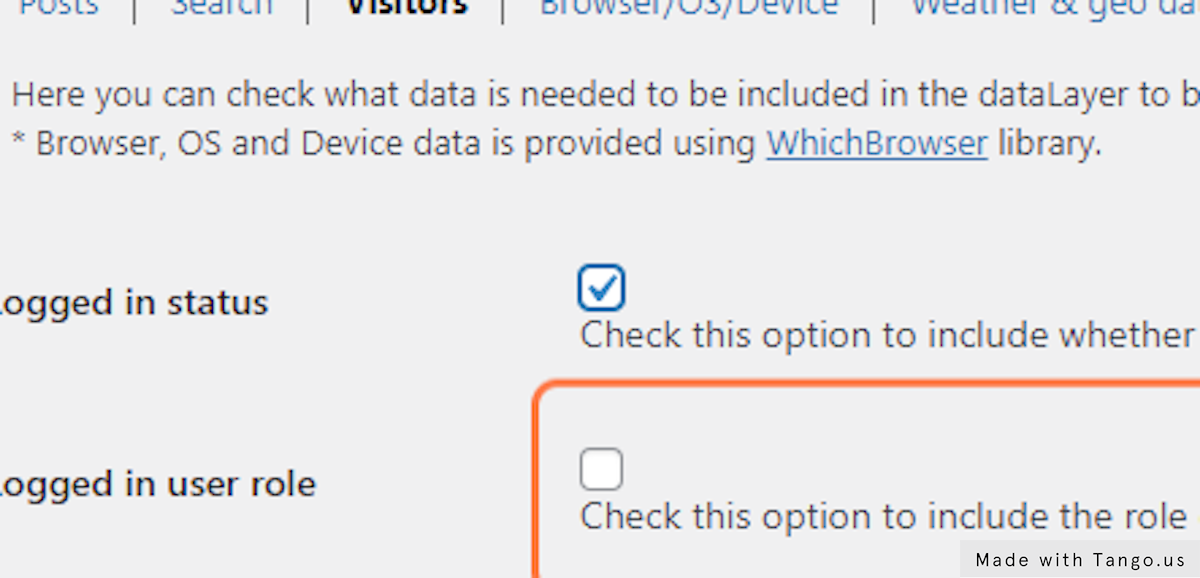
5. Click on Visitors

6. Check Logged in status checkbox
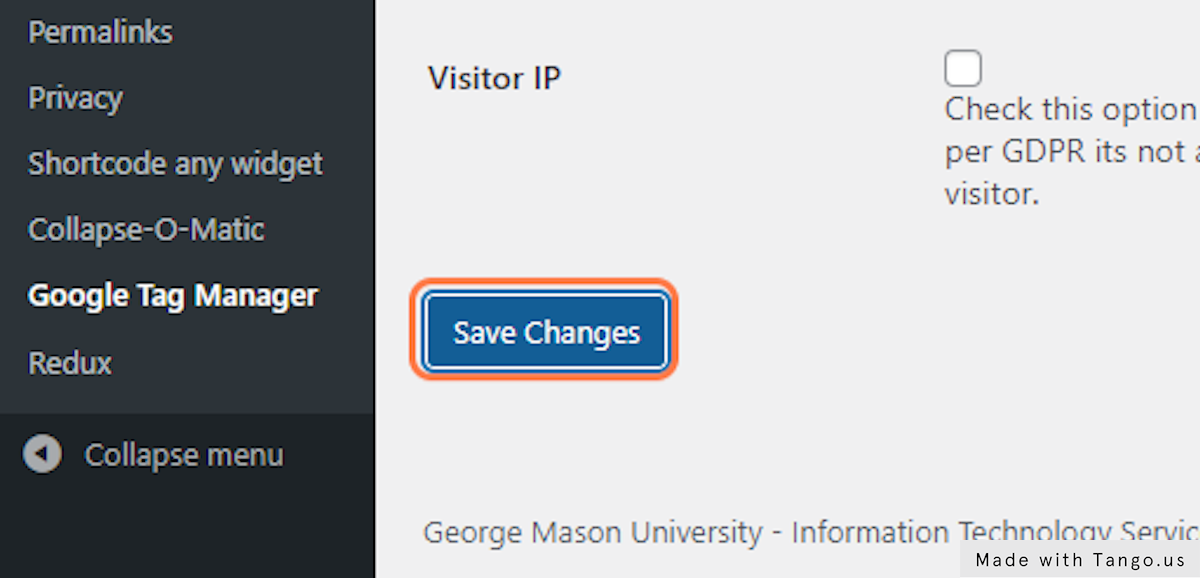
7. Click on Save Changes
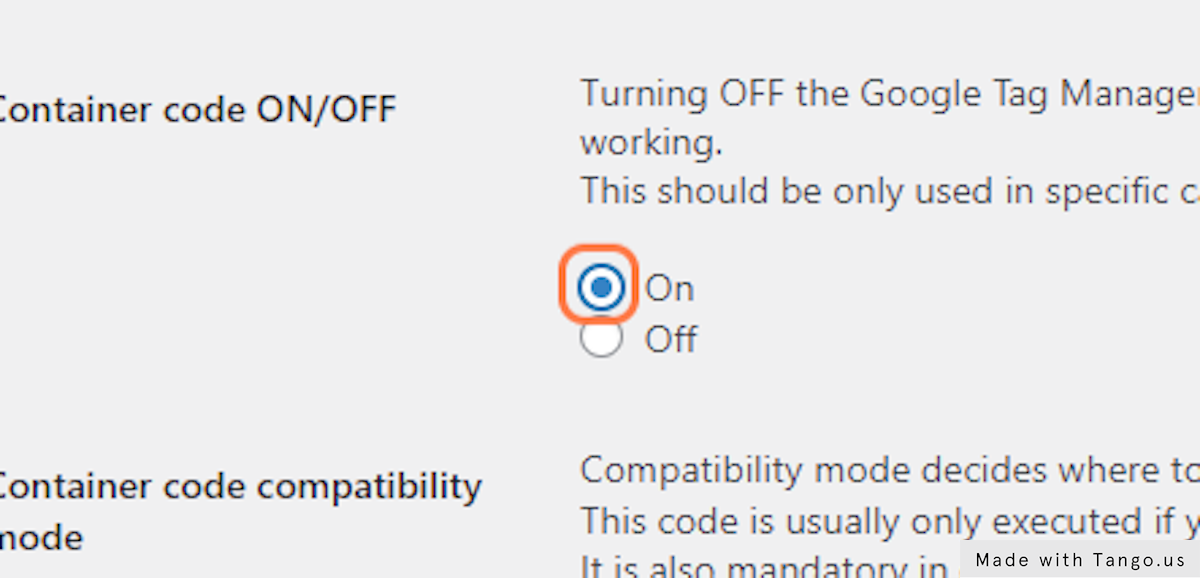
8. Change the “Container code ON/OFF” to “ON”
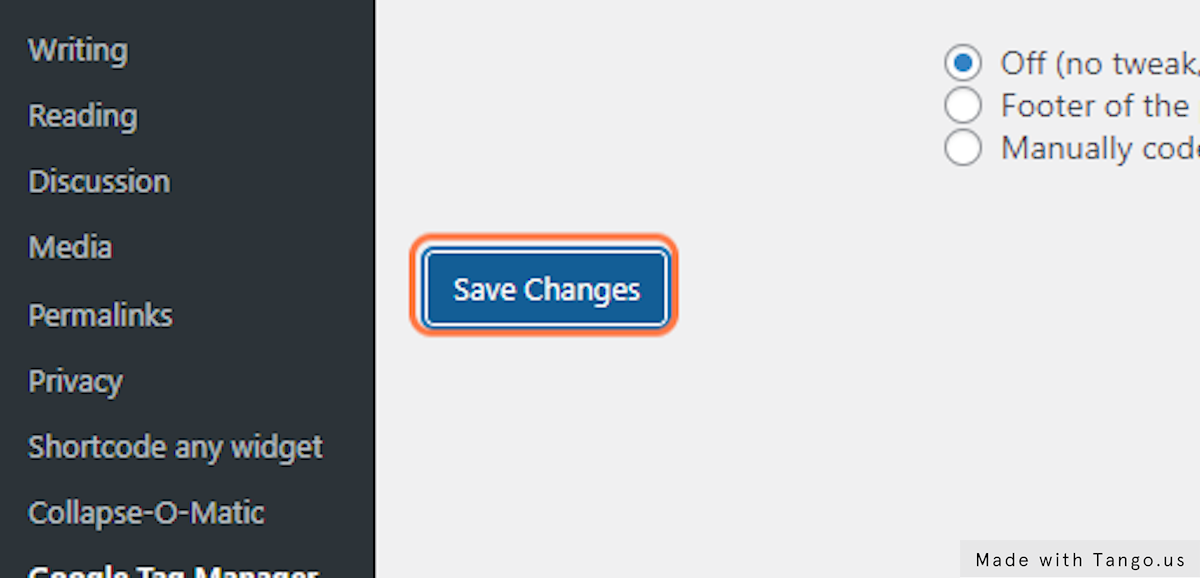
9. Click on Save Changes
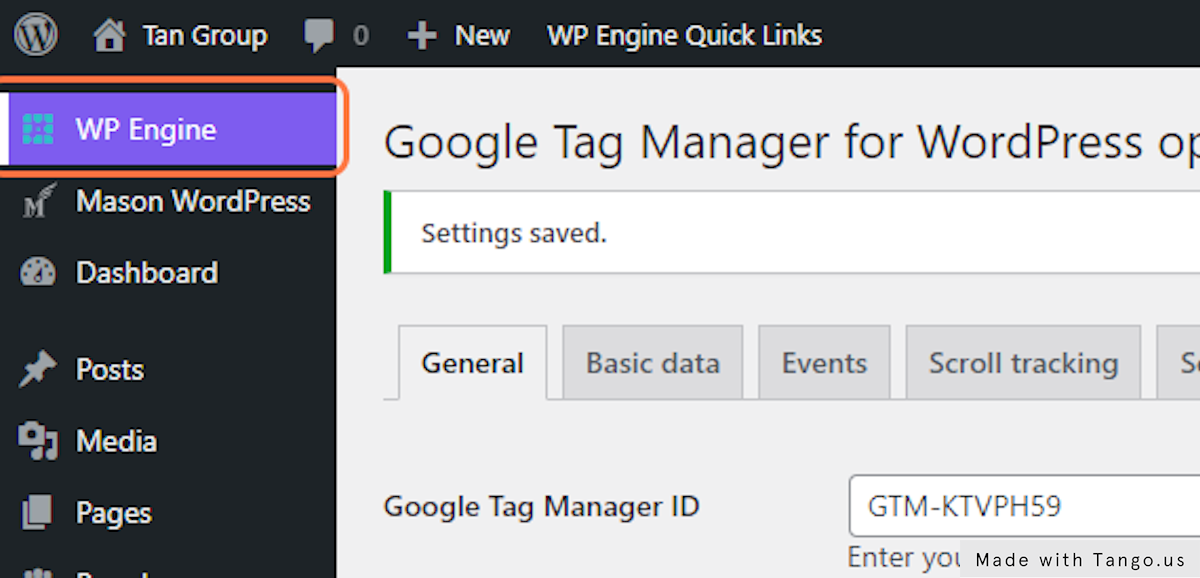
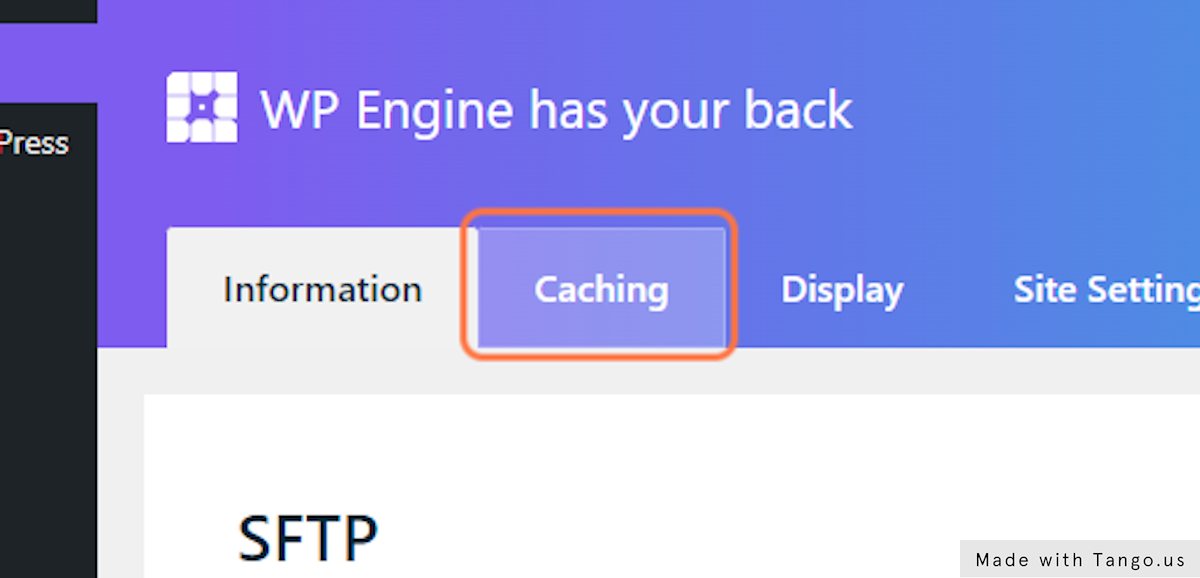
10. In the admin sidebar, Click on “WP Engine”
11. Click on Caching
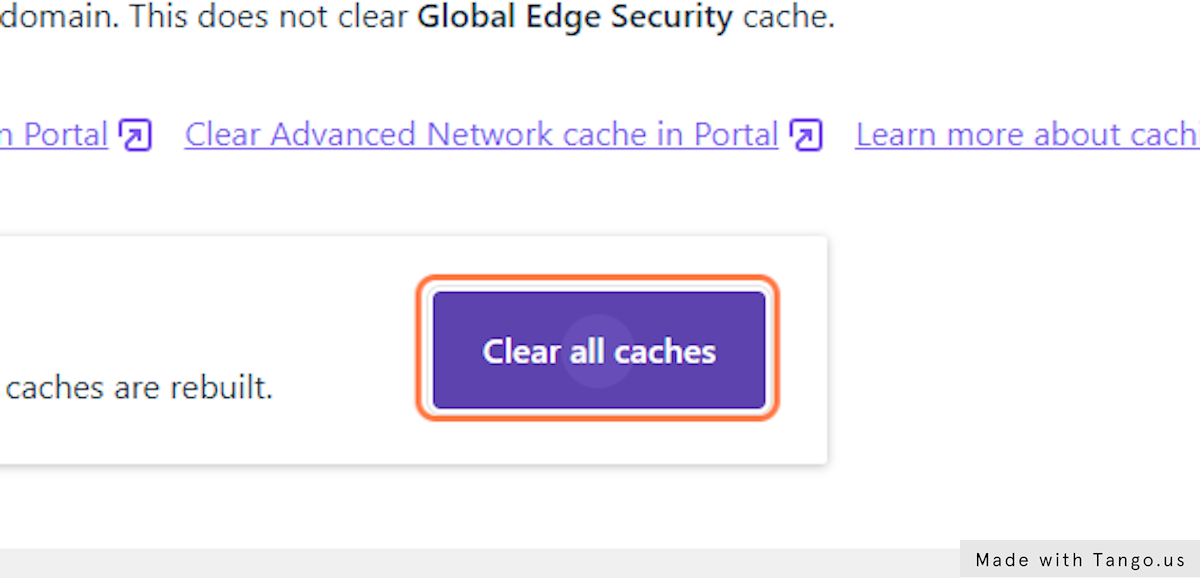
12. Click on Clear all caches
13. Clear the Sucuri cache as well.