1. Go to Google Analytics admin page for the appropriate GA account
2. Click on Create Property

3. Use your production website domain as the ‘property name’

4. Set the “reporting time zone” to “New York Time”

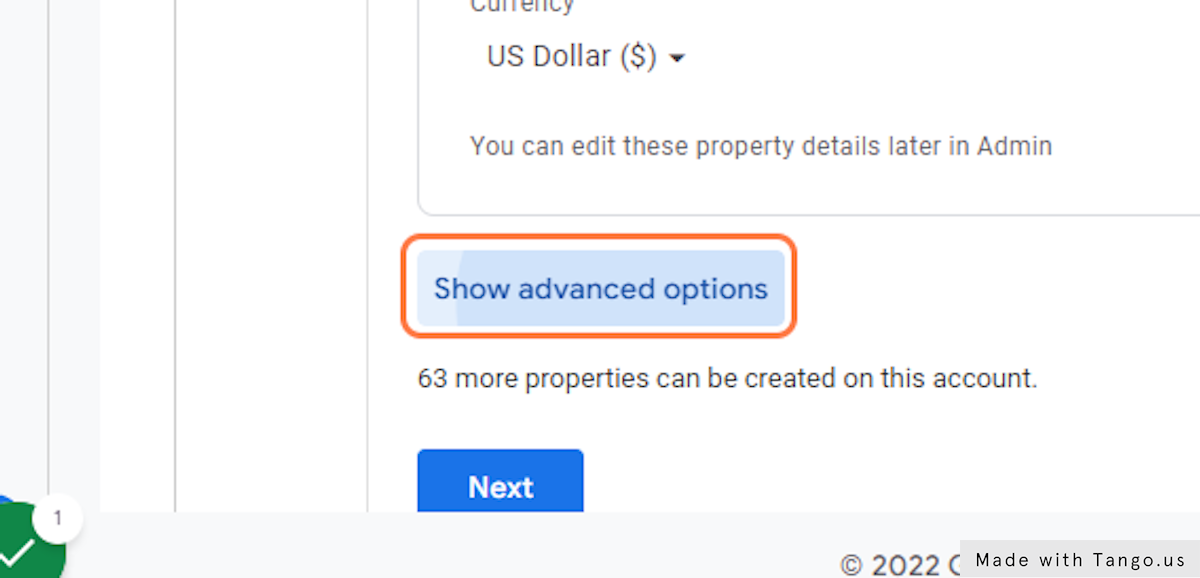
2. Click on Show advanced options
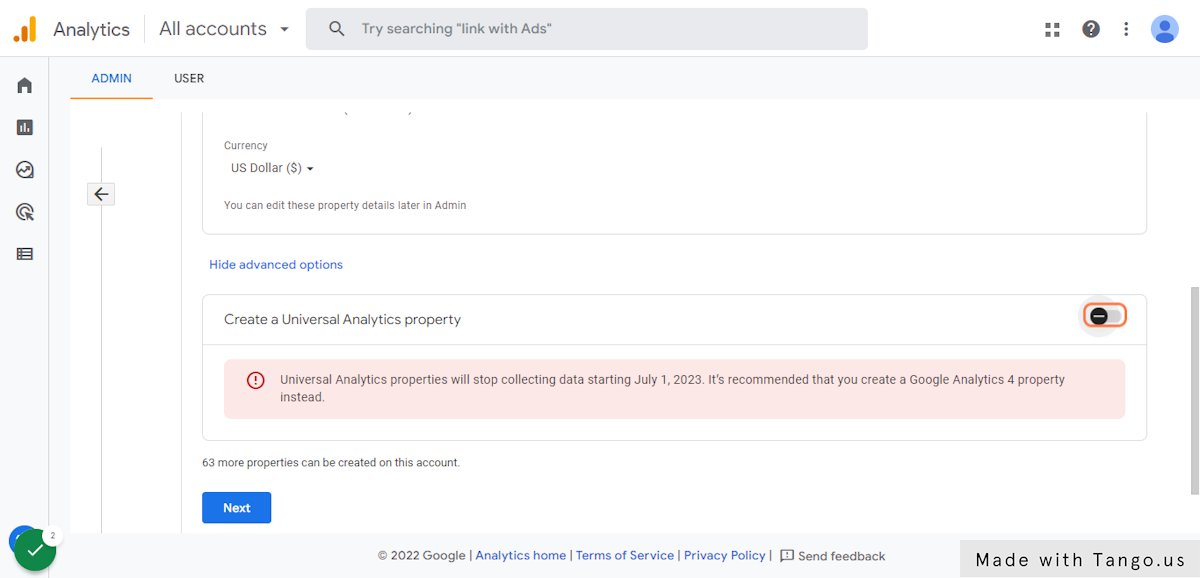
3. Click on Create a Universal Analytics property
4. Use your production website domain as the ‘Website URL’
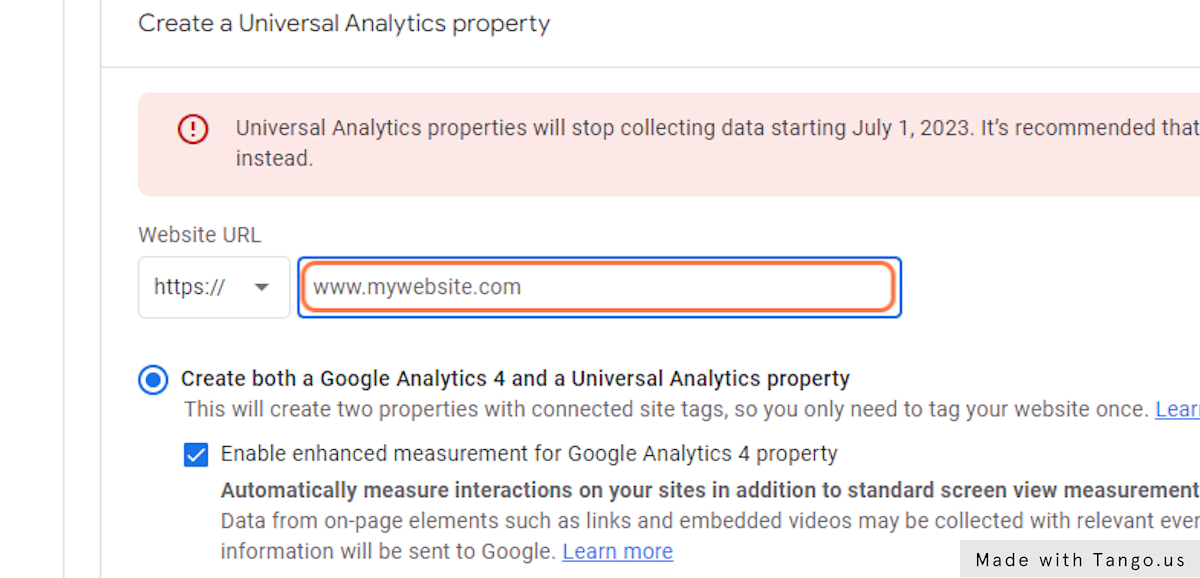
5. Select “Create a Universal Analytics property only”
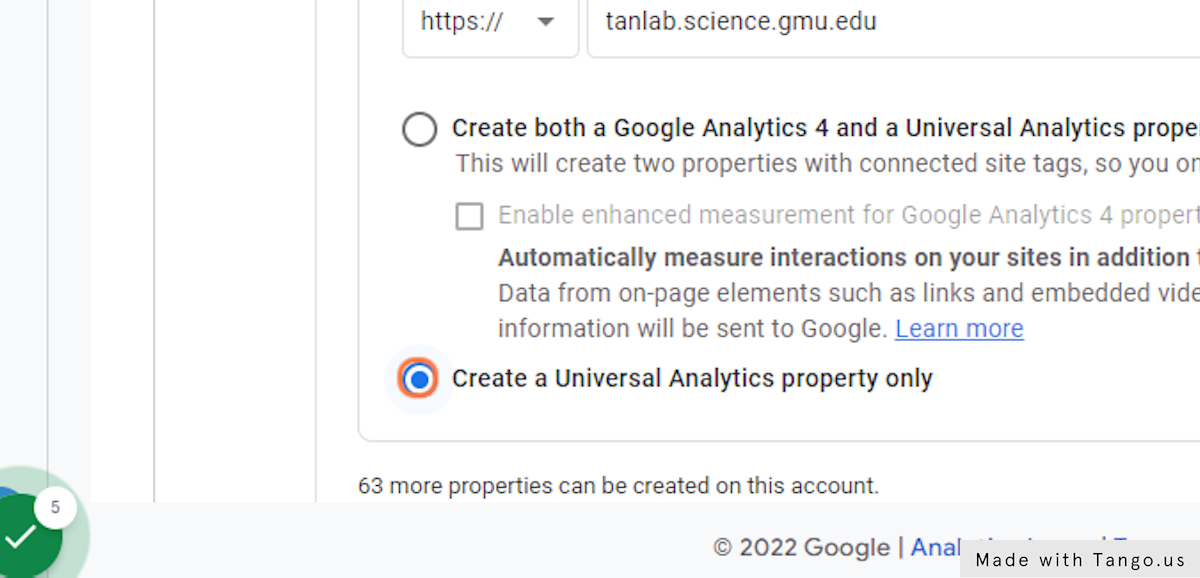
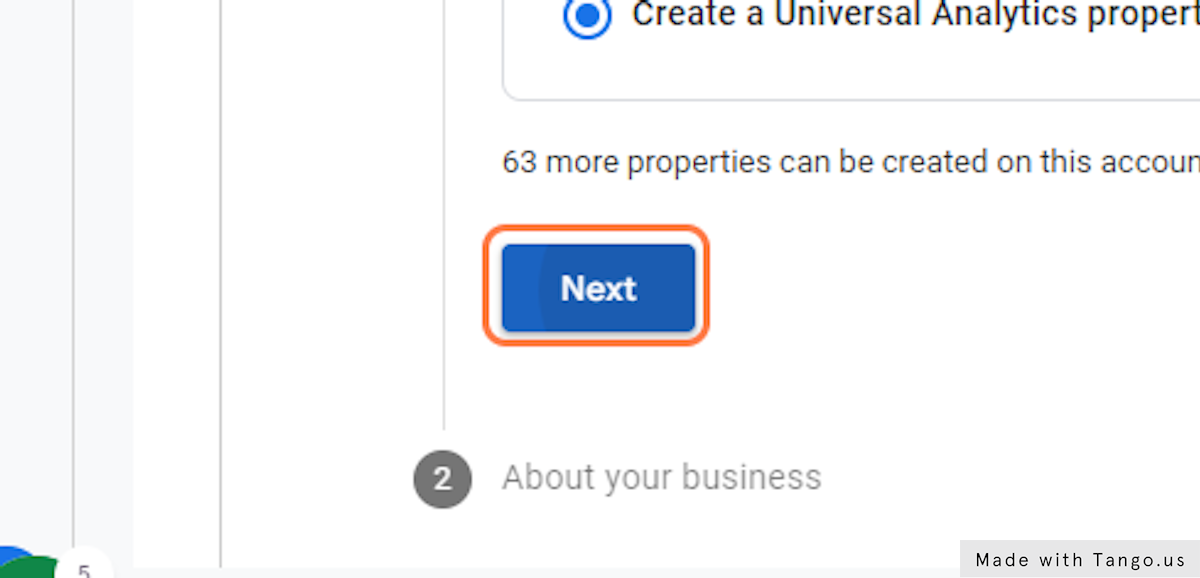
6. Click Next
7. Click on View Settings

8. Change the “View Name” field to “[PROD] yourdomain.gmu.edu (YYYY-MM-DD)”, replacing yourdomain.gmu.edu with the domain for your website, and YYYY-MM-DD with the current date
![Change the "View Name" field to "[PROD] yourdomain.gmu.edu (YYYY-MM-DD)", replacing yourdomain.gmu.edu with the domain for your website, and YYYY-MM-DD with the current date](https://images.tango.us/public/screenshot_d95ee082-3e5a-4f34-9c62-4609b893c2b4.png?fm=png&crop=focalpoint&fit=crop&fp-x=0.3953&fp-y=0.6065&fp-z=2.0394&w=1200&mark-w=0.2&mark-pad=0&mark64=aHR0cHM6Ly9pbWFnZXMudGFuZ28udXMvc3RhdGljL21hZGUtd2l0aC10YW5nby13YXRlcm1hcmsucG5n&ar=1366%3A657)
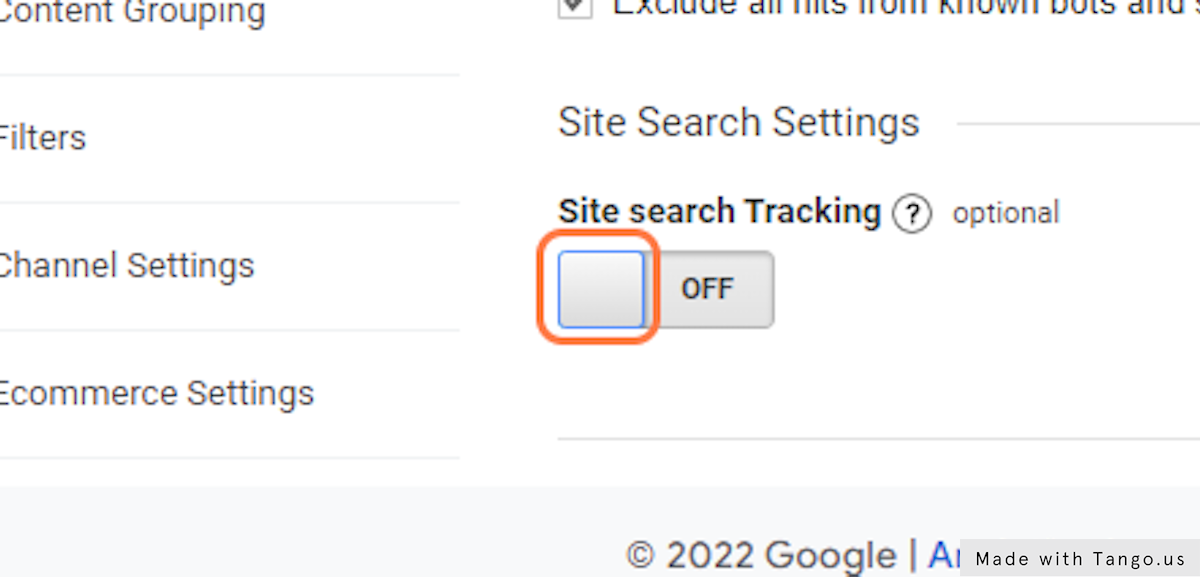
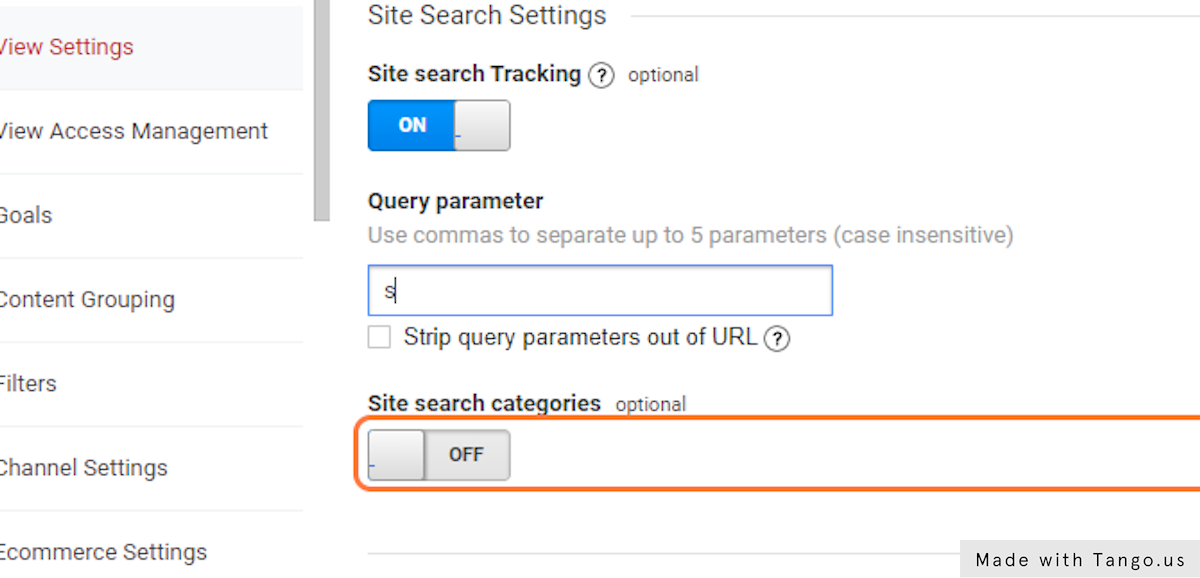
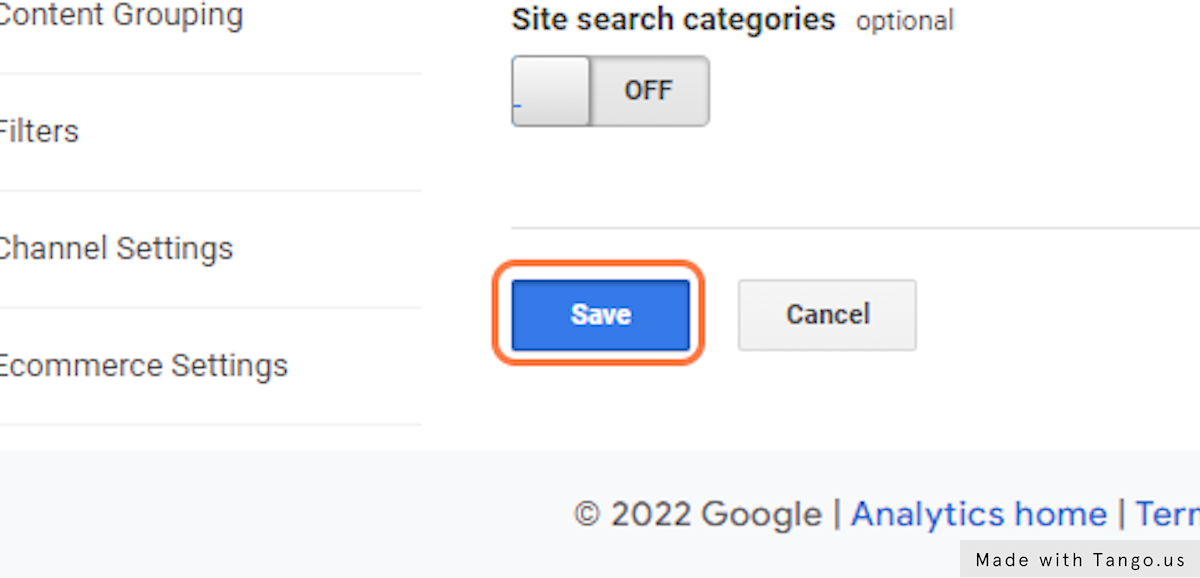
9. For WordPress Websites, Toggle Site Search Tracking to “ON”
10. For WordPress Websites, Enter “s” as the “query parameter”
11. Click on Save
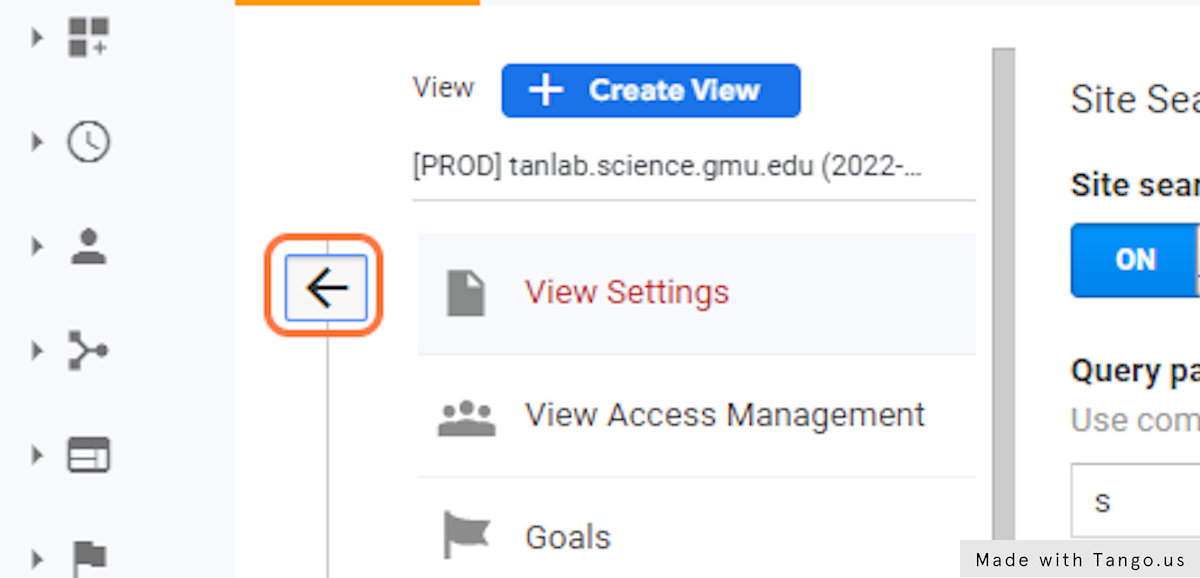
12. Leave the View Settings screen
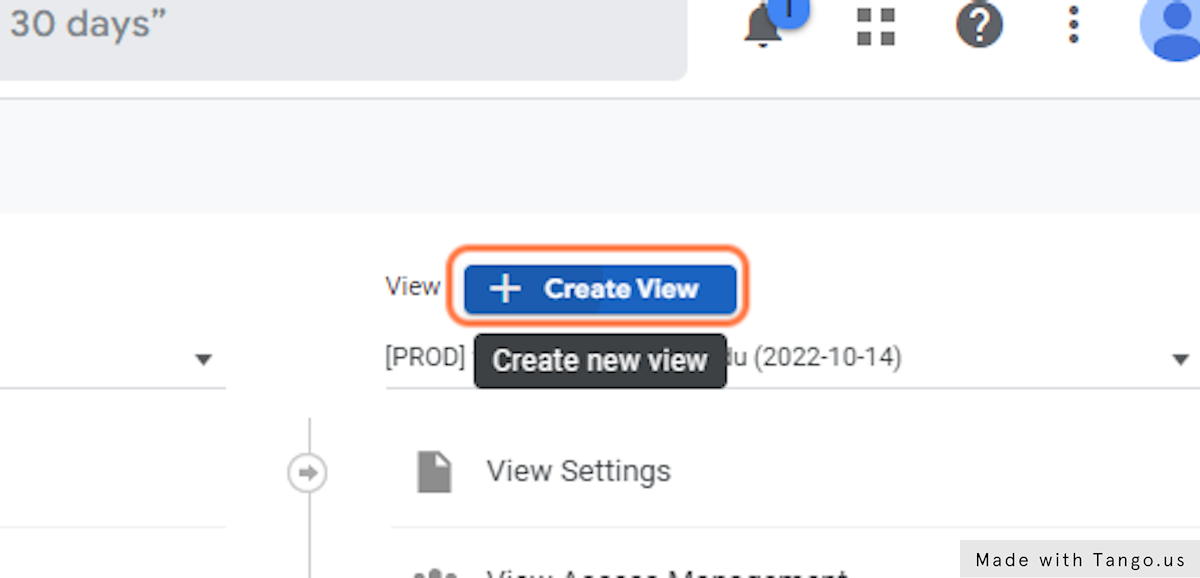
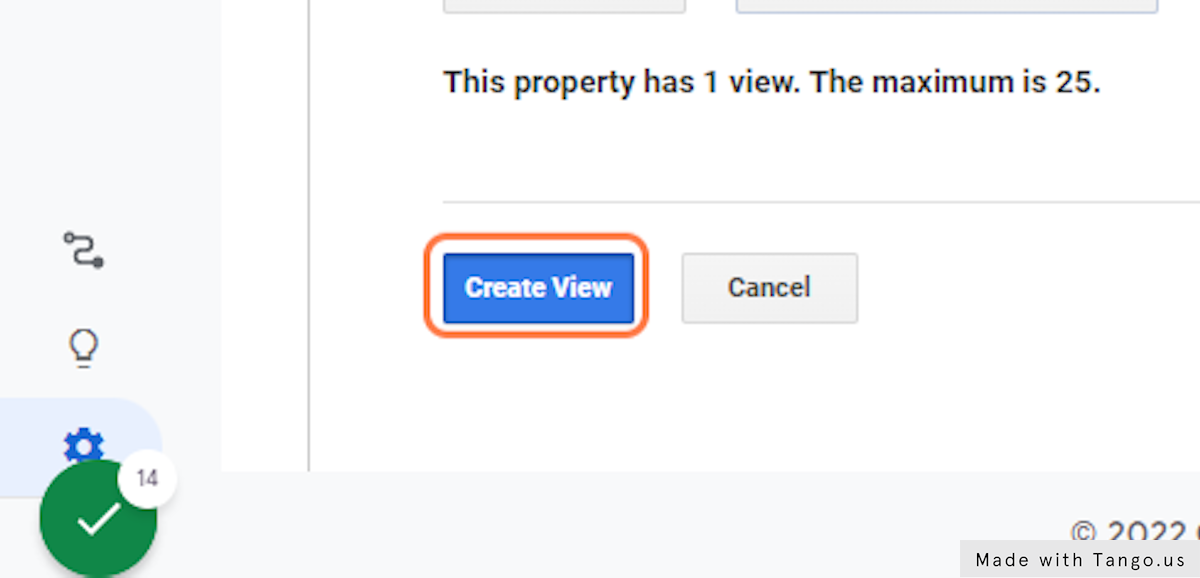
13. Click “Create View”
14. Enter the “Reporting View Name” as “[RAW] yourdomain.gmu.edu (YYYY-MM-DD)”, replacing yourdomain.gmu.edu with the domain for your website, and YYYY-MM-DD with the current date
![Enter the "Reporting View Name" as "[RAW] yourdomain.gmu.edu (YYYY-MM-DD)", replacing yourdomain.gmu.edu with the domain for your website, and YYYY-MM-DD with the current date](https://images.tango.us/public/screenshot_31236c7f-6fec-4b62-ba65-7ae715c926db.png?fm=png&crop=focalpoint&fit=crop&fp-x=0.2635&fp-y=0.8501&fp-z=1.7745&w=1200&mark-w=0.2&mark-pad=0&mark64=aHR0cHM6Ly9pbWFnZXMudGFuZ28udXMvc3RhdGljL21hZGUtd2l0aC10YW5nby13YXRlcm1hcmsucG5n&ar=1366%3A657)
15. Enter the Time Zone as New York Time
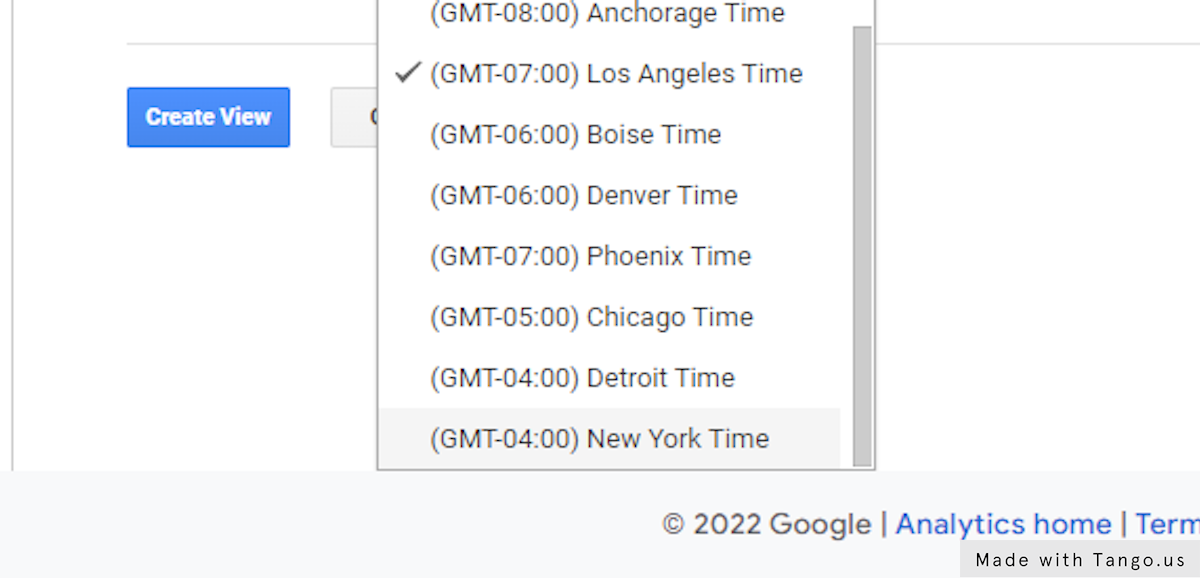
16. Click on Create View
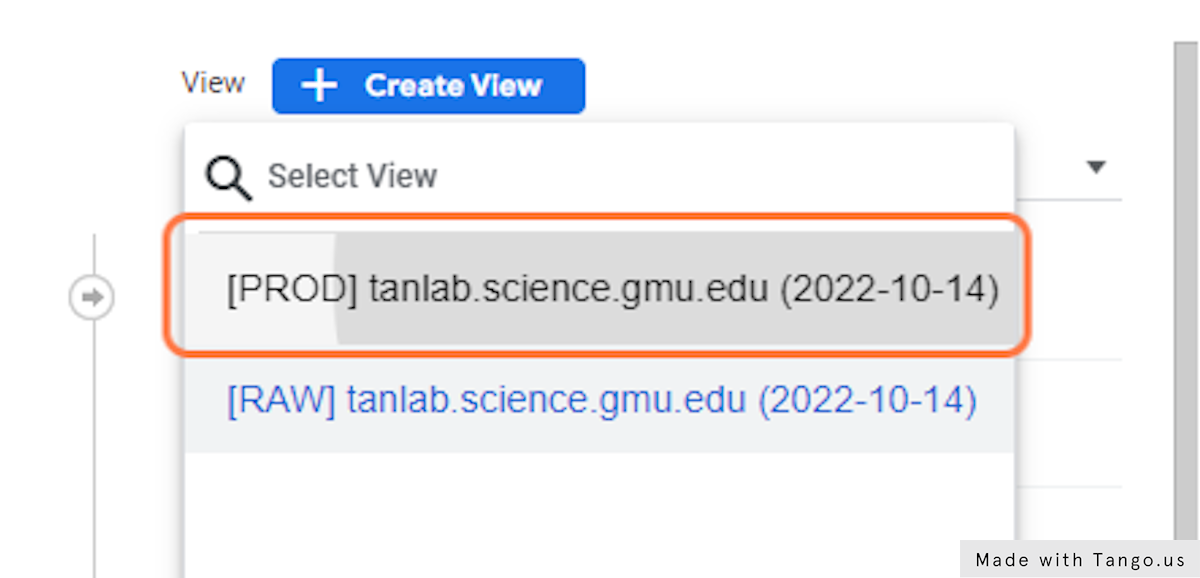
17. Switch Back to the PROD View
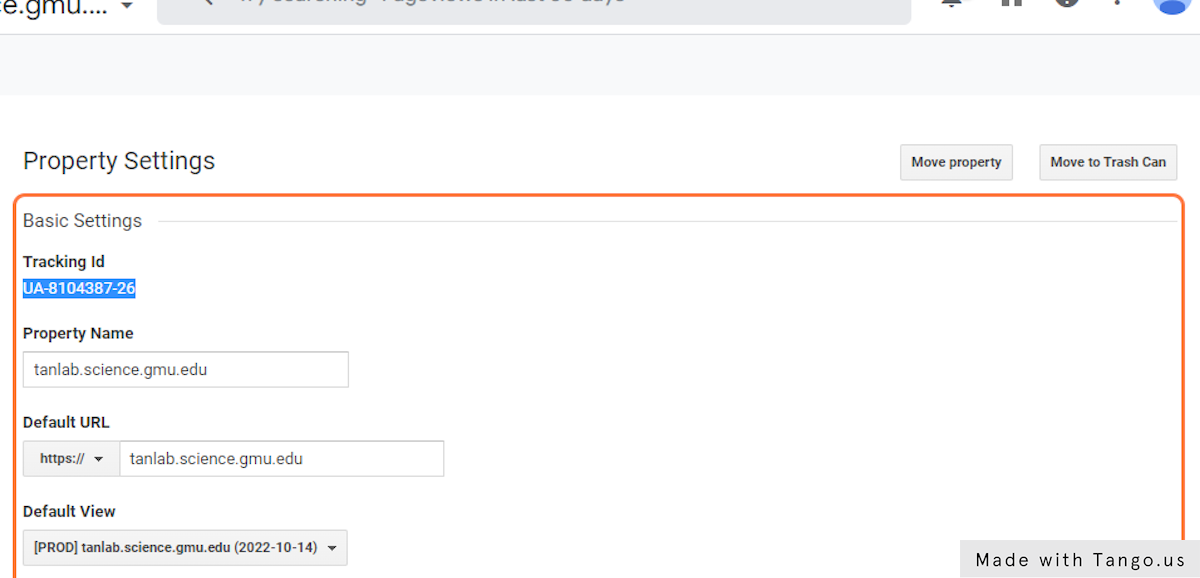
18. Click on Property Settings

19. Copy the tracking ID number and make note of it